How to Make Dried Fruit without a Food Dehydrator
Making dried fruit without a food dehydrator is easy. You need an oven, and some time and you’ll get preservative-free, no-sugar-added dried fruit.
Guess what I did! That’s right, I made my own prunes!
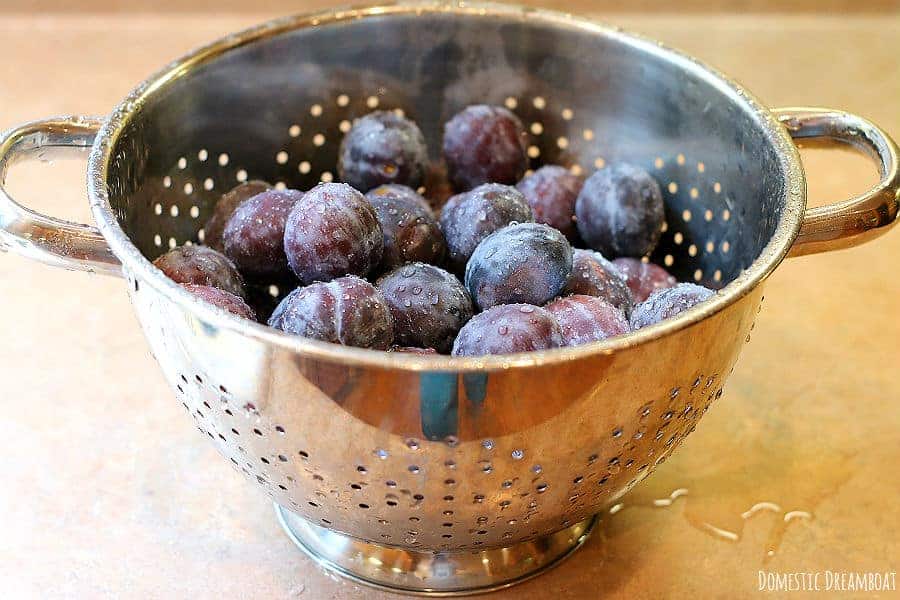
Last weekend we went to Costco, and I apparently I forgot I was leaving on a 3 week long trip in a week, and bought a 5lb box of prune plums. Or maybe I thought I could eat 5lbs of prune plums in a week. Turns out that I cannot. Also turns out that I am the only one in the house who will eat them.
Needless to say, Thursday rolled around and I was left with about 4lbs of prune plums. Always hating to be a waster, I figured I’d better do something with them. I thought making my own dried fruit would be pretty easy, and I was right.
Our moms made dried fruit all the time – I know mine did. Well, that and some beef jerky that was a major fail. Seriously – even the dog wouldn’t eat it!
But back then, food dehydrators were all the rage. I don’t have one, and though they’re still available, I am not ready to invest in yet another kitchen appliance that takes up so much space!
As it turns out, your oven is all you need. BUT – it does take a long time, which means your oven will be occupied for hours on end, so make sure you don’t need to use it for anything else.
💬 Reader Review
“LOVE, luv this method, and you for sharing, THANK YOU“
-LORI
How to prepare plums to make dried fruit:
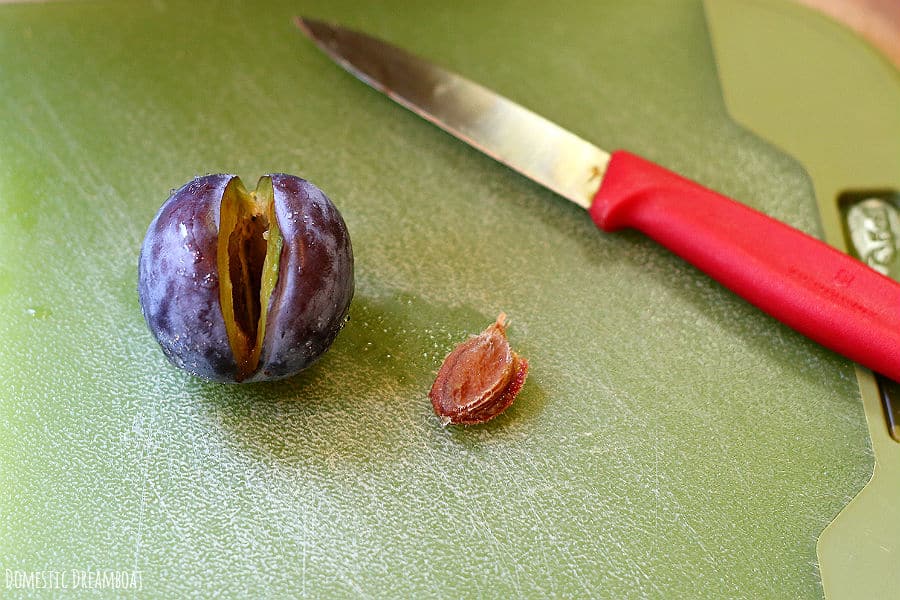
Prunes can either be dried pitted, or left with the pits in place. I decided to pit mine since I find unpitted prunes annoying and inconvenient. A quick Google search didn’t lead me to any magical super fast method of pitting plums, so I used the old trial-and-error method.
My first try turned out pretty successful. All I did was cut a slit lengthwise down the prune, being careful not to cut it totally in half. Then I stuck my fingers in and pulled out the pit. It was easy since these (maybe all?) plums are freestone, meaning the flesh doesn’t cling to the pit.
I thought it would take forever to pit those 4lbs of plums, but it actually only took about 15 minutes. I ended up drying them whole.
If you’re trying other fruits, you might try preparing them in the following ways:
Plums: pits removed (see details above), whole
Cherries: pits removed, whole
Blueberries or cranberries: whole
Apples or pears: core removed, thin slices or rings
Bananas: thinly sliced
Strawberries: stem and core removed, sliced or quartered
Tropical fruit (mango, papaya or pineapple): thinly sliced
The materials needed to make dried fruit:
The next decision I made was whether to dry them straight on the baking sheet or a rack. I went with a rack. I decided it might be faster since the air could circulate better.
Seeing all the juice that dripped from the plums, and consequently burned onto the rack, I’m glad I made the decision I made. Otherwise, they probably would have stuck on the sheet pretty well.
If you’re using smaller fruit (like cherries or blueberries), you may not have that option, since they will fall through a rack. Try lining the sheet with a silicone liner or parchment to prevent sticking.
How to make dried fruit in your oven:
Drying fruits and vegetables should be done at low temperature – about 200°F. I also decided to use the oven in convection mode, in hopes the job would be made faster.
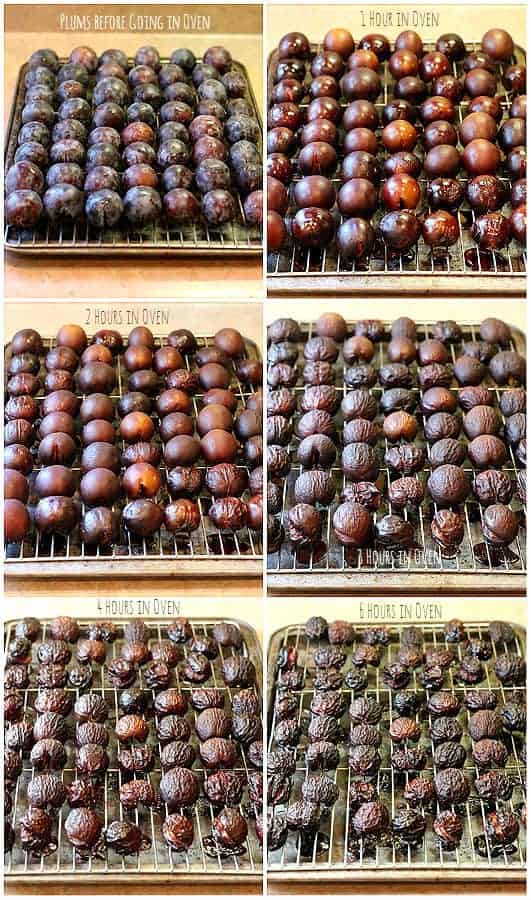
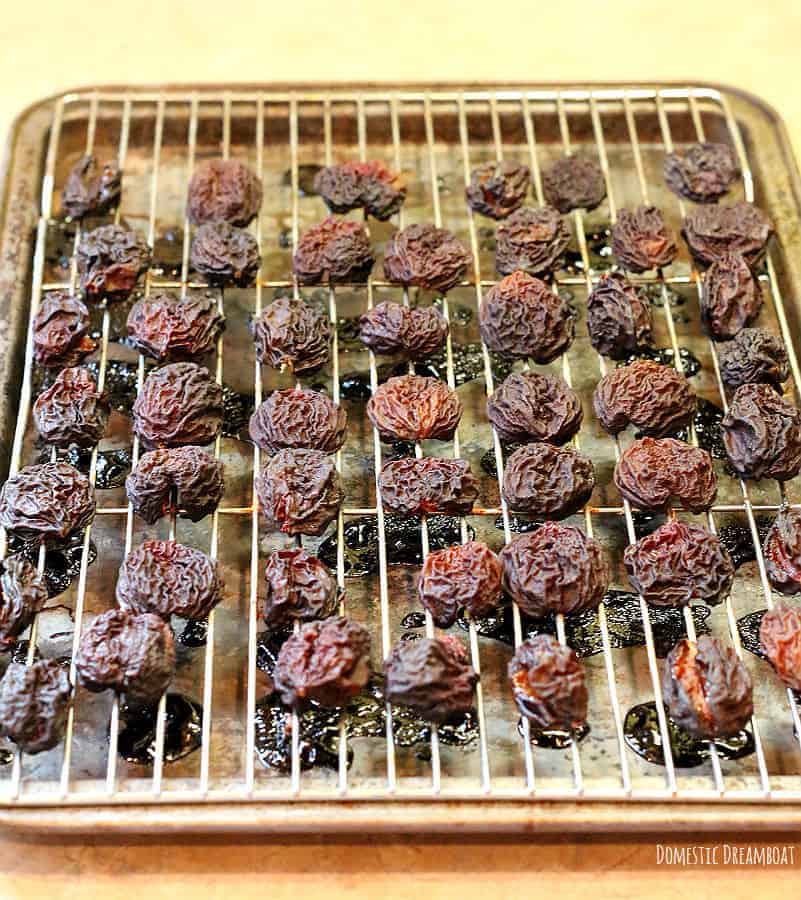
Since I didn’t try regular baking mode too, I’m not sure if it was faster or not. But I do know that drying my plums, to the point of still being slightly soft and “juicy” took about 8 hours. Smaller fruits (like cherries or blueberries) should done slightly faster. Same for fruits with less water (apples).
Since all ovens (and other factors) are different, and the rate of drying will depend on the size and juiciness of the fruit, as well as the humidity in the air, keep a close eye on your fruit. I checked mine closely every hour to see how they were doing (and took pictures, see above). This means you need to be home and available the whole time they’re in the oven. Take them out when the fruit is as dry as you want it.
One thing to remember with homemade dried fruit is that it is preservative free, which means it will not last as long as store-bought dried fruits. In fact, if you leave them at room temperature for extended periods of time, they will likely mold. If you know you won’t eat your dried fruit quickly, store it in the freezer.
Dried Fruit Nutrition Notes:
The nutrition information of your dried fruit will depend on the fruit that you choose to dry. Since this recipe only includes the fruit, and no additional ingredients (like sugar), you can be sure that eating 1 piece of the dried fruit will provide you with the equivalent nutrients of 1 piece of the fresh fruit.
However, since dried fruit has much of the water removed, it is often less filling than fresh fruit, and can result it us eating more of it.
Equipment
Ingredients
Instructions
- Heat oven to 200°F, using the convection mode if available.
- Lay fruit onto a baking rack set over top of a rimmed baking sheet. If fruit is too small for a baking rack (like cherries, blueberries or cranberries), bake directly on a baking sheet that is lined with a silicone baking liner or parchment to prevent sticking.
- Baking time depends on the fruit you are using. Check on the fruit every hour or so. Remove fruit from oven when the desired dryness is reached. Allow fruit to cool, then store in airtight bags or containers. If you plan to store the fruit for a long period of time, keep in the freezer to prevent mold.


Thank you for sharing this, and with the helpful pictures! My uncle dropped of a grocery bag full of these delicious plums, and they are far too many to eat before they get too soft. 🙂
Could you process these in port to ensure that they do not go mouldy perhaps
I really don’t know…would help inhibit mold I guess, but I have no idea how it would turn out.
I am certainly going to try this, with five plum trees i was wondering how to preserve them.
Have you tried them after they have been frozen? Do they taste the same? I am looking to do this but will have to freeze them all until I see my mom as they are for her.
Yes, they taste the same after being frozen. That is what I did with my dried plums, as I don’t eat them very quickly. Just take a few out when you’re ready to use them and let them thaw at room temperature.
I prefer them dried then frozen – they are delicious, actually better than just dried or fresh. I also puree the frozen plums
with applesauce – equal amounts – and use the puree as a fat substitute when making zuchinni cake.
When you used the convection setting did you crack your oven door open to release some of the moisture?
I didn’t, because I was worried about possible burns with my small children. But I know keeping the door open a crack is common. Worked for me without however, so I’d say either way is fine.
I bought a dehydrator, also froze plums whole, cooked over-ripe plums, made fruit leather and for our next adventure, will put plums in gin and sugar for a year. My friend’s father does this every year. Heat 26 oz gin gently, dissolve 2 cups of sugar ( I will try one batch with berry sugar and the other with coconut sugar), put whole plums in jar, make sure plums are covered and store jar for year. Pour off liquid, drink and use plums on ice cream etc. Enjoy!!
LOVE , luv this method,and you for sharing, THANK YOU,,lol,Lori