Making your own No Knead Sourdough is easy! All it takes is a few ingredients and time. This is a great beginner recipe for any starting out with sourdough.
What do you need to make sourdough bread?
Making your own No Knead Sourdough Bread is really very easy, provided you have flour, sourdough starter and time. The dough is very basic:
- Flour (bread flour, and a little whole wheat flour)
- Sourdough starter
- Water
- Salt
- Yeast (just a tiny bit to help it rise, optional)
Where can I get a sourdough starter?
If you already have sourdough starter, great - just pull it out of your fridge and start whisking. If not, and you really want to start making sourdough, you'll have to get one. The best place to start is to get some from someone you know. If you don't know anyone that makes sourdough, you can try making one, or you can order one.
Making your own takes quite a bit of time, and from what I hear, can take a really long time to get a nice sour flavor. When I started mine, I bought the Live Sourdough Starter from Breadtopia. It took a few days and feedings to get it going, but it was great right off the bat. I've had the same one going for about a year now.
How do I maintain a sourdough starter?
Keeping sourdough starter is a bit like keeping a houseplant - it does take a little attention to keep it going, but overall it's pretty low maintenance.
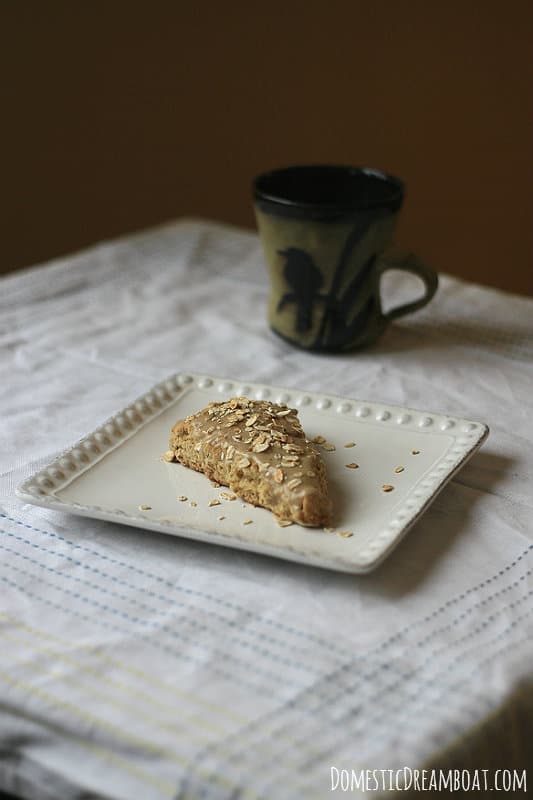
If you're making bread regularly anyway, there's no extra work to consider - just make sure to replenish it with water and flour every time you take from it. Otherwise you will need to feed it a bit of flour and water every couple days (if you keep it at room temperature) or weeks (if you don't use it often and keep it in the fridge) to keep it alive. Also, keep in mind that it's not only good for bread - it can make great pancakes, waffles, scones, etc.
One of the reasons I love this recipe so much is that it's so easy. I don't even need to pull out my mixer to make it - I use a dough whisk, but a whisk and a good old wooden spoon would do great too. No kneading required!
AND you don't even need to worry about letting the dough rise in a clean bowl. You just leave it in the bowl you mixed it in. But one thing about this recipe is that the dough is very, VERY wet. Don't freak out and add a bunch more flour - that's how it's supposed to be.
After the first rise (a total of 12-15 hours), you will fold in a bit more flour, so it will become a little more manageable. But it still means that you can't "form" the dough into a loaf. You actually just let it rise again in a bowl lined with parchment.
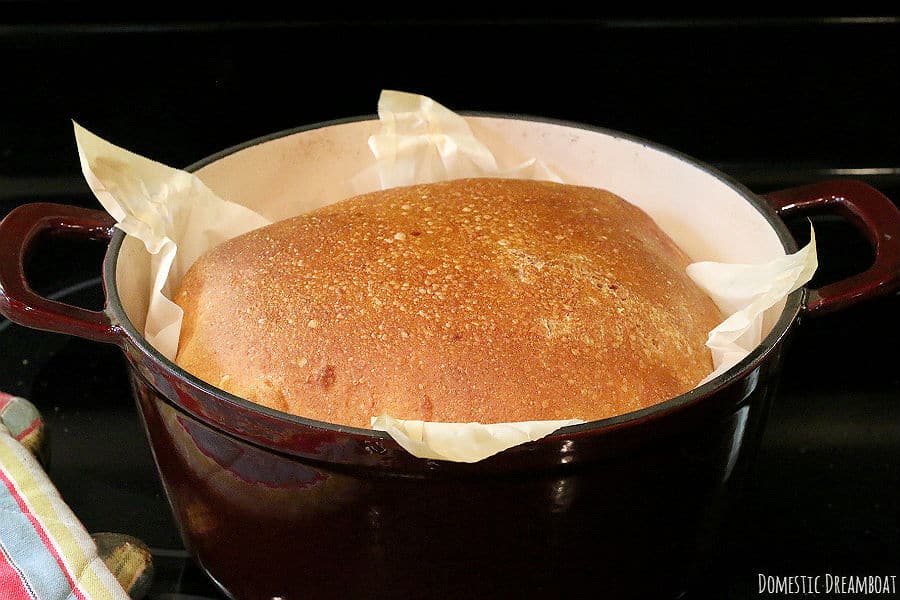
Then you transfer the parchment, dough and all into a pre-heated dutch oven to bake. Since the dough won't hold itself together in loaf form, you can't actually freeform it on a baking stone.
You will need a large (around 8-10 quart) covered dutch oven or oven safe pot. Alternatively, you could make 2 smaller loaves using 2 smaller pots. The cover serves to keep the bread moist while baking, which results in a chewier crust.
If you don't have a lid, spray some water in the oven just before you close the door, or keep a shallow tray of water in the oven while the bread is cooking. The lid is removed partway through baking to allow the crust to brown.
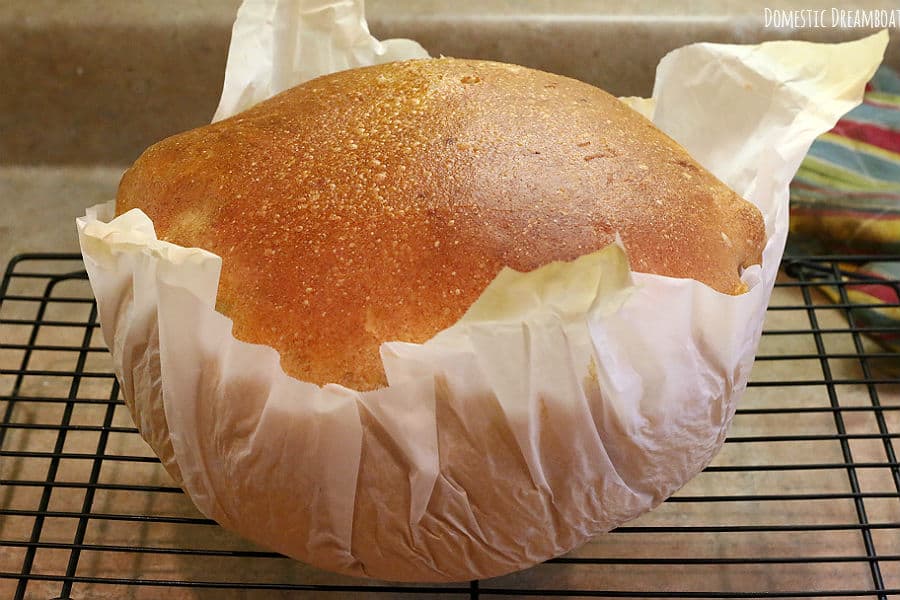
As soon as the bread is done baking, pick up the parchment by the corners (it will be very brittle and will likely break, so be careful) and transfer the bread to a cooling rack. Then peel off the parchment and let the bread cool completely.
The first time I made this bread, I absolutely could not wait to try it and cut into it right away. Big mistake - my whole loaf pretty much collapsed and was ruined. So be patient.
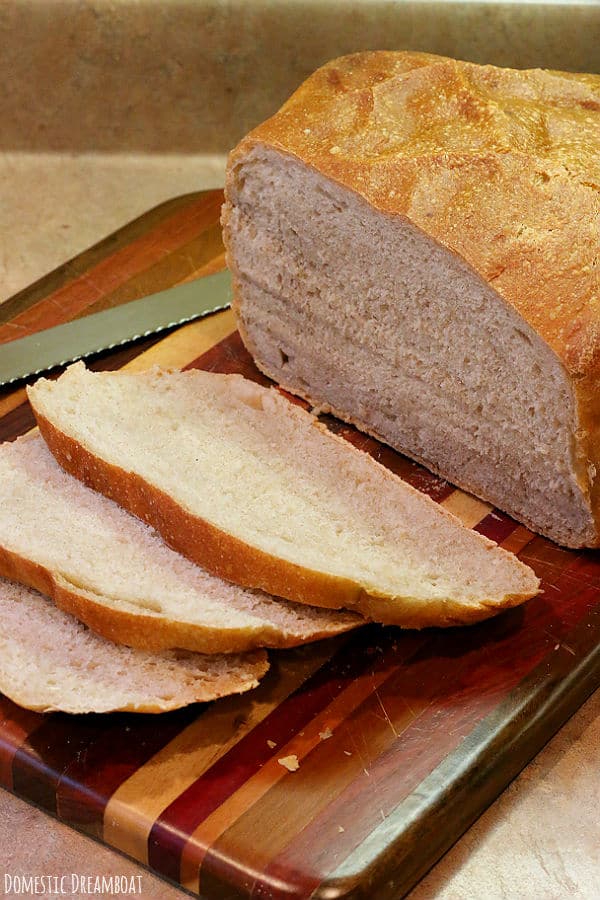
Hopefully you have a good bread knife to cut this bad boy up, because it's a bit of a monster. Not only is it a huge loaf, but the crust is nice and thick and crusty - tastes absolutely great, but makes for very difficult cutting. Good luck.
The best way to eat this bread is slightly warm with lots of salted butter. It's also great with hearty soups or stews, especially Polish Hunter's Stew. And it makes for some pretty good toast in the morning too. If you can't eat the whole loaf at once, cut some up and freeze it in a sealed freezer bag for later. The homemade breadcrumbs from it also make excellent stuffing, or you could use it to make bread kvass.
What else can I make with my sourdough starter?
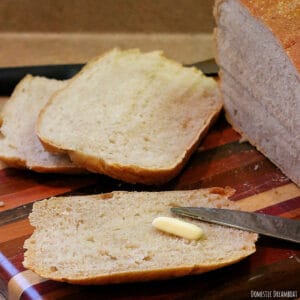
No Knead Sourdough Bread
Ingredients
- 3 cups lukewarm water
- 1 ½ cups sourdough starter
- ¼ teaspoon yeast (see note)
- 1 ½ cups whole wheat flour
- 5 cups bread flour
- 2 teaspoons salt
Instructions
- Pour 2 cups lukewarm water into a large bowl or the bowl of a stand mixer. Add sourdough starter and whisk vigorously to combine.
- Add the yeast, whole wheat flour and 1 ½ cups of the bread flour and stir until smooth.
- Add the remaining cup of water and salt. Mix thoroughly.
- Add the remaining bread flour and stir until combined. The dough will be wet and sticky.
- Cover bowl with plastic or a lid (if mixed in a stand mixer, transfer to large bowl). Let rise for 12-15 hours.
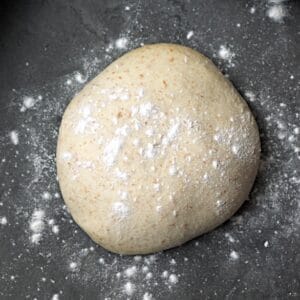
- After dough has risen, punch it down, then sprinkle generously with flour (about 1 cup) and "turn" the dough. Lift one side of the dough and fold it into the center. Repeat on the opposite side, then rotate the bowl and fold in each perpendicular side for a total of 10-12 folds, until the extra flour is worked in. Keep your hands well floured during this process to avoid a sticky mess.
- Transfer dough onto a large sheet of parchment paper. Clean bowl or get a new large bowl.
- Transfer dough the parchment paper along with the dough into the bowl and let rise again for about 2 hours, until bread has reached desired height .
- When there is 30 minutes left in the rise time, place a dutch oven in the oven and preheat to 450°F for 30 minutes (see note).
- Picking the parchment paper up by the corners, carefully transfer the dough and parchment paper into the hot dutch oven. Do this very gently as you don't want the dough to deflate, and carefully to avoid burns on the hot pot.Cover and bake for 30 minutes (see note).
- Remove lid. Bake for an additional 15 minutes. Remove from dutch oven, peel off the parchment (it will be brittle and break easily) and cool on a wire rack.
Notes
Choose a large dutch oven with a lid, or two smaller ones.
If you don't have a lid for your dutch oven, spray water using a food safe water bottle into the oven immediately before you close the door, or keep a shallow tray of water in the oven while the bread is cooking.
Nutrition













Leave a Reply