Homemade Marshmallow Rice Krispie Squares (Funfetti!)
It’s possible to make Homemade Marshmallow Rice Krispie Squares – completely from scratch! Perfect for when you run out of marshmallows.
This little baking project was the first ever Mother-Son baking project I did with my son. I’m not going to lie – he mostly just complained that he would rather be watching a show, and that he doesn’t like marshmallows (how a child of mine doesn’t like marshmallows, I will never know).
But in the end, we successfully baked the whole thing, and we even polished off a whole row of these chewy, vanilla-y, sticky squares before anyone else even knew they existed. And if you make these Homemade Marshmallow Rice Krispie Squares, you probably will too.
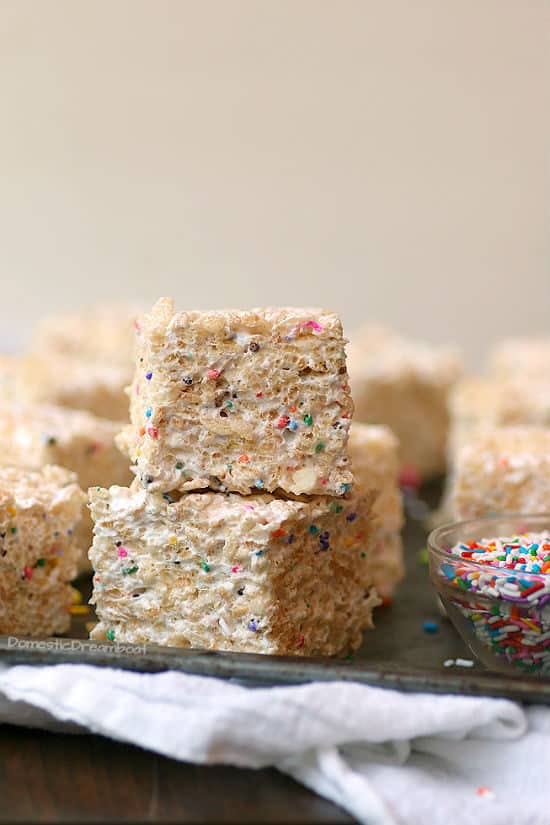
Before attempting this project, I had made homemade marshmallows several times. I very much enjoy the soft, fluffy texture of homemade marshmallows, and the fact that you can flavor them however you like.
I had it in my mind to try and turn that homemade marshmallow into delicious, gooey rice krispie squares for awhile, and one day I decided to make it happen.
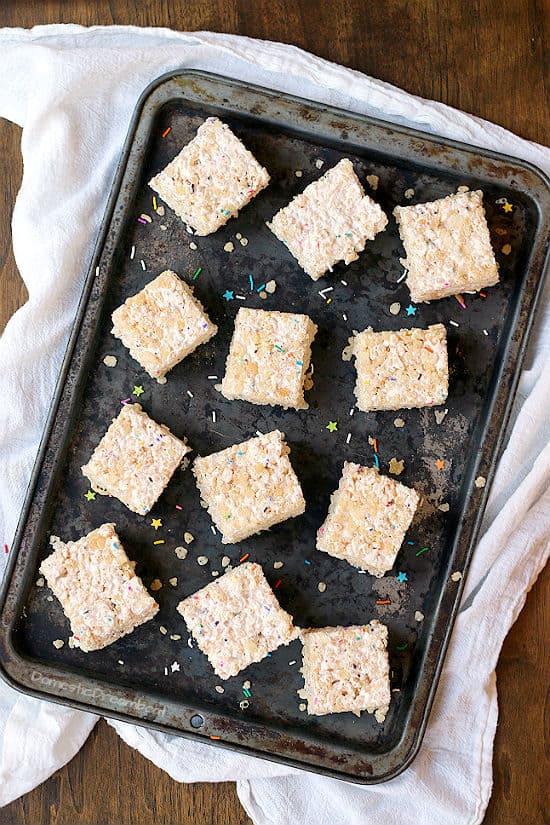
How to Make Homemade Marshmallow Rice Krispie Squares
Sure, making rice krispie squares with store-bought marshmallows is super easy, and takes like 5 minutes. Let me be straight, making them with marshmallow that you’ve made with your own two hands…isn’t.
Yes, this is a bit of a project, but if you simply NEED rice krispie squares and don’t want to go to the store, or you just want to try it out, it’s an option.
Now, keep in mind, that any time you cook sugar to make candy (in the case of marshmallows), you need to monitor the temperature very carefully and need to be careful with the timing. It’s necessary to have an instant-read or candy thermometer.
Make sure you read the entire recipe first and have everything ready to go so you can go through all the steps smoothly. Also, be a little bit prepared for a sticky mess. It is marshmallow after all.
The first step to making these homemade marshmallow rice krispie squares is to make the marshmallow. This involves boiling water, sugar, and corn syrup until it reaches the “soft ball” stage (240°F). Then you’ll be pouring this over some hydrated gelatin, and whipping it in a stand mixer.
All this whipping is what incorporates air into the marshmallow mixture, giving marshmallows their signature fluffy texture.
Once the marshmallow is mixed up, the process is basically the same as making regular rice krispie squares. Simply mix the marshmallow with melted butter (before it starts to harden, no melting needed), then stir in the rice krispies and sprinkles (if you want) and pack it all into a baking pan.
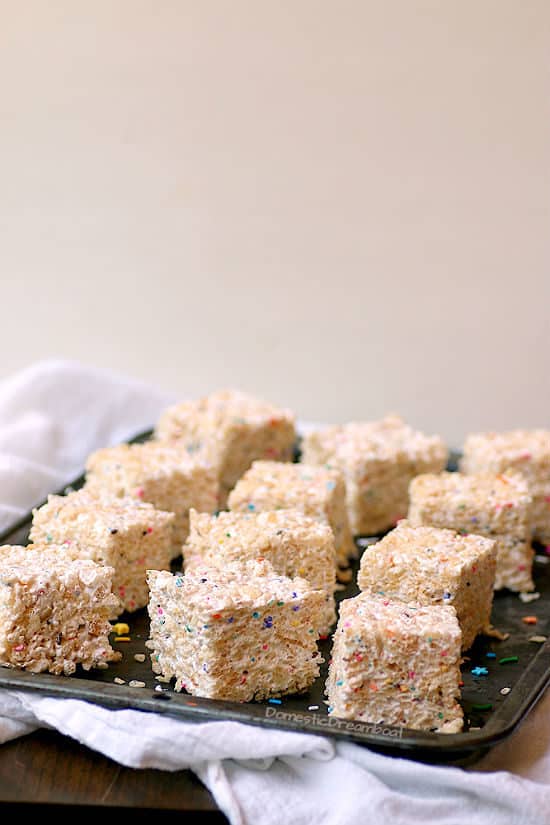
Homemade Marshmallow Rice Krispie Squares Ingredients:
- Unflavored gelatin powder – you can find this in the baking aisle, commonly available in packets.
- Cold water – Use whatever water you normally drink
- Granulated sugar
- White corn syrup
- Vanilla (I like to use clear vanilla for any “funfetti” recipes, as they taste more like “boxed” funfetti cake
- Salt
- Butter (You can use dairy-free butter alternative to make these dairy-free, but note that gelatin is made from animal products so they will not be vegetarian)
- Crisp rice cereal
- Sprinkles (these are optional, but more fun)
Want more Desserts with Sprinkles?
Homemade Marshmallow Rice Krispie Squares Nutrition Notes
Regular Kellogg’s Rice Krispies, and many other brands of crisp rice cereal are not gluten-free. If you need to make these gluten-free, make sure you look for crisp rice cereal that does not contain malt flavor or malt extract. If it’s marked “gluten-free”, you’re safe.
Also note that gelatin is made from meat products, so avoid serving these to anyone who follows a vegan diet.
Homemade Marshmallow Rice Krispie Squares
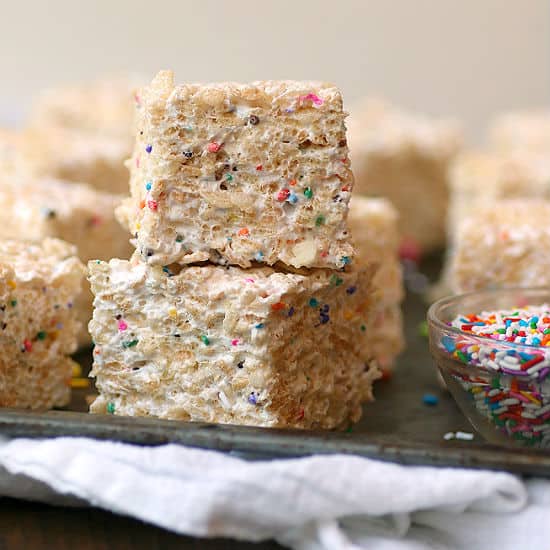
Equipment
Ingredients
Instructions
- Generously grease a 9×13 inch baking pan with oil or cooking spray. Set aside.
- Add 1/2 cup of the water to the bowl of a stand mixer. Sprinkle the gelatin over the top and allow it to sit until the gelatin has absorbed the water, at least 5 minutes.
- Meanwhile, add the remaining 1/2 cup water, sugar and corn syrup to a medium saucepan. Cover and heat over medium heat for 4 minutes. Remove lid and attach a candy thermometer to the saucepan. Increase heat to medium high and continue to heat without stirring until the mixture reaches 240°F (the mixture will come to a rapid boil). Immediately remove from heat.
- Turn the stand mixer on low speed, and slowly pour the hot sugar mixture over the dissolved gelatin. Once all the sugar has been added, slowly increase the mixer to high speed, and continue to mix until it becomes thick, and shiny white, and is cooled, about 5-7 minutes. Reduce mixer speed to low and add the vanilla and salt. Turn back to high speed and mix for another minute. Turn mixer back to low speed and add melted butter. Increase mixer to medium speed, and mix until butter is incorporated, about 30-60 seconds (marshmallow may deflate slightly).
- Add rice cereal and sprinkles (if using) and stir until completely mixed (it may be easier to do this in a bowl that is larger than your stand mixer bowl, if you have one). Transfer the mixture to the prepared baking pan and gently by firmly press into the corners. Allow to set at room temperature, about 30-60 minutes. Cut into squares and store in an airtight container or zipper bag at room temperature or freeze.

They were a bit sweeter than anticipated, but colleagues liked that part. Unfortunately they got soggy at room temperature and that was after adding additional crispies, as it was definitely marshmallow heavy. They are great at first bite before they set up. Thanks for putting this out to try, I may try it again with my usually marshmallow recipe and more crispies.