Homemade Dinner Rolls
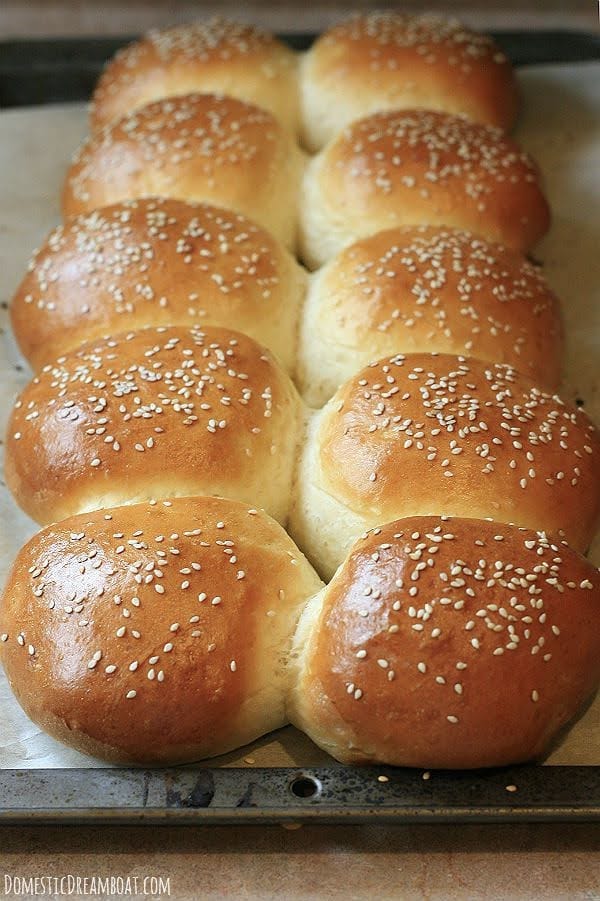
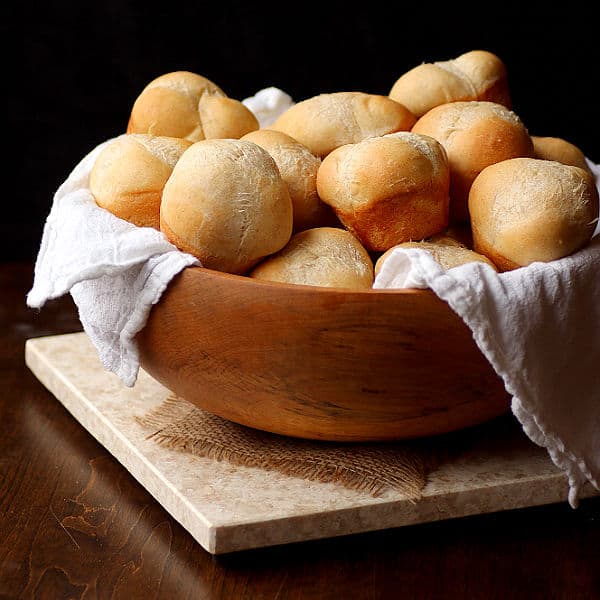
These homemade dinner rolls make the perfect fresh-baked addition to any meal. They’re also great to keep on hand in the freezer for whenever you need them.
I’m definitely a bread person. Most other carb-loaded foods I can take or leave.
Pasta? Sure, but I don’t require it.
Potatoes? I’ll pass.
Rice? No thanks.
But bread? Yes please! Preferably warm out of the oven, and slathered with salted butter.
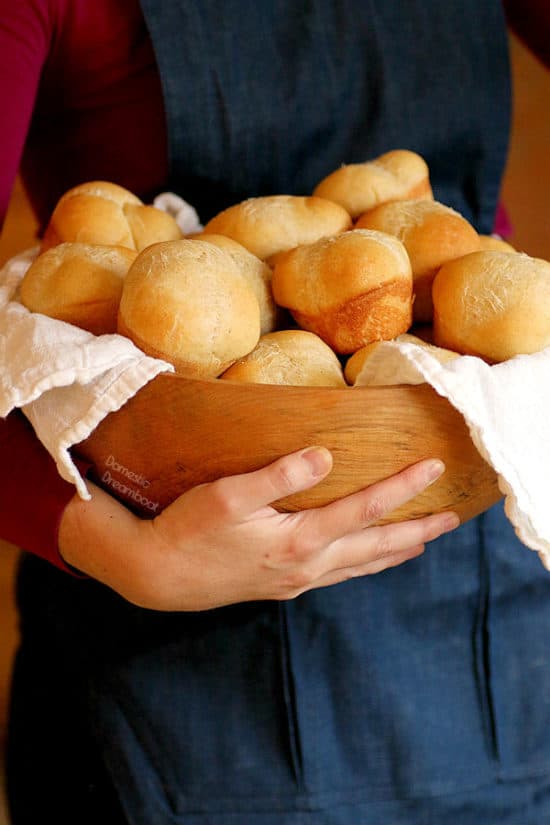
There are times that I would without a doubt choose a second helping of bread over dessert. These Homemade Dinner Rolls are certainly no exception.
I have been eating these particular dinner rolls for pretty much as long as I can remember.
In fact, they’re known exclusively as “Granny Buns” around my house. That’s because my Granny has been making them since I was a wee tyke.
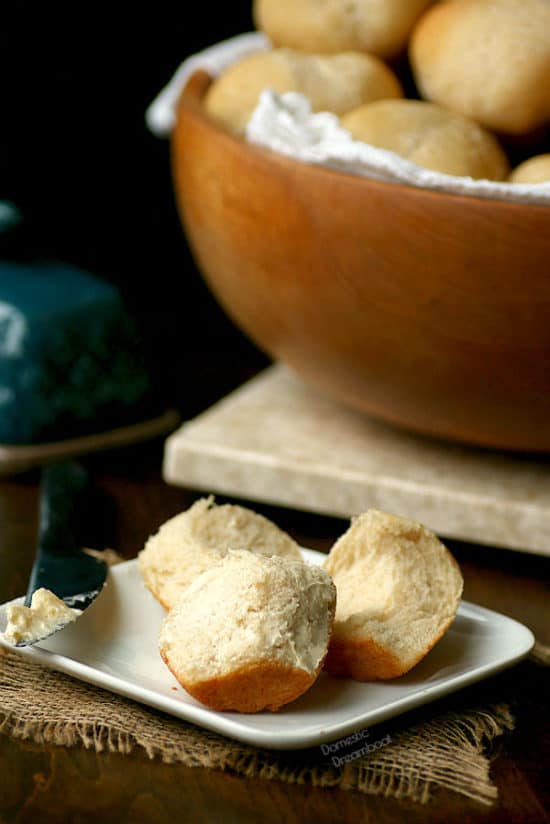
She would give Ziploc bags full of them to my mom to keep in the freezer, especially around the holidays. We would pull them out, defrost them, and I would butter them, and warm them in the microwave. There’s nothing quite like a soft, fluffy bun covered in melted butter.
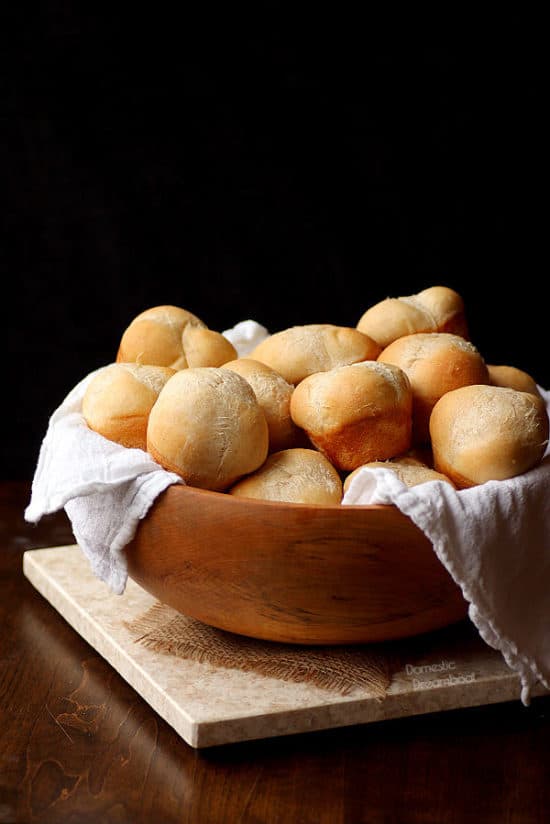
How to make Homemade Dinner Rolls
I did make a few minor changes to my Granny’s retro recipe. Her recipe called for shortening, which I never have on hand. Instead of using butter, I used canola oil, which results in a softer bread at room temperature.
I also switched a little of the white flour to whole wheat to add a little texture and flavor. But not so much whole wheat flour that it completely changed the texture.
These dinner rolls are considered an “enriched” bread, which means that they have fat (canola oil), dairy (skim milk powder), sugar, and egg added to the dough. This makes them soft and slightly sweet.
These buns are easy to make and pretty forgiving. I’m pretty sure you’ll be able to pull them off even if you’re a novice baker. That being said, they do take time to make (as does any yeast-raised bread) because of the time required to rise.
I always make these rolls in a clover-leaf shape, which does require more hands-on work (you need to roll out three small balls of dough to make one roll), but you can save the extra work and make them regular-shaped, which means only rolling out one larger ball of dough.
Want more Bread Recipes?
Homemade Dinner Rolls Nutrition Notes
You can try increasing the amount of whole wheat flour in this recipe (while decreasing the amount of white flour by an equal amount) to increase the fiber content of these rolls.
However, I wouldn’t recommend using more than half whole wheat flour to avoid negative outcomes to the texture of the rolls.
Ingredients
Instructions
- Dissolve 1 teaspoon of the sugar in 2 cups (473 g) lukewarm water. Sprinkle 2 1/2 teaspoons (8 g) 1 package active dry yeast on top of the water and let stand for 10 minutes.
- Meanwhile, whisk 4 cups (500 g) all purpose flour, 1 cup (120 g) whole wheat flour, 1/2 cup (60 g) skim milk powder, and 2 teaspoons (12 g) salt together in the bowl of a stand mixer that is fitted with a dough hook.
- When yeast becomes puffy in the warm water, stir it up, then stir in the remaining 1/4 cup of the sugar, 3 Tablespoons (42 g) canola oil, and 1 large egg. Turn the stand mixer on low speed, and slowly pour the water mixture into the flour mixture. Continue to mix until the dough forms a cohesive ball and is no longer sticking to the sides of the bowl, scraping down the sides frequently. If the dough is still sticking to the sides of the bowl, add another 1/2 cup of the flour 2 Tablespoons at a time, ensuring that all the flour has been incorporated before adding any more.
- Remove the dough from the stand mixer. Form into a ball and transfer to a large bowl that has been lightly oiled. Cover and let rise in a warm spot for 1-1.5 hours, until doubled in size.
- Punch dough down and let rest for 10 more minutes. Lightly grease the cups of two muffin pans (for clover-leaf rolls) or line a baking sheet with parchment paper or a silicone baking mat.
- For clover-leaf buns: cut off small pieces of dough (approximately 1 ounce) using a paring knife to form into 1-1.5″ smooth, taut balls. To do this, place dough in the palm of your hand and tuck ends over the top of the dough until you are left with a smooth ball. Place 3 of these balls into each muffin cup. To make round rolls, cut off a larger piece of dough (2-3 ounces) and form into one smooth, taut ball, as per the directions above. Place about 1-2 inches apart on the prepared baking sheet.
- Cover both muffin pans (or baking sheet) with plastic or a clean dish towel and let rise for 30-60 minutes, until doubled in size.
- Move oven racks to the upper-middle and lower middle positions (for clover leaf rolls) or the middle position (for round rolls) and heat oven to 325°F. Bake for 20 minutes, rotating and switching the pans halfway through cooking, until the rolls are golden brown on top. Cool for 10 minutes in the pan. Remove from muffin cups and cool completely on a wire rack. Store in an airtight container or bag. Freeze if you will not use them after 1-2 days.

