Homemade Peanut Butter Oh Henry Bars
These Homemade Peanut Butter Oh Henry Bars are a DIY version of my favorite candy bar with milk chocolate, peanuts, caramel, and peanut butter.
Up until a year or two ago, I had a hard time deciding on my favorite chocolate bar (yes, I’m Canadian, and yes, that’s what I call them). It would be a close choice between Oh Henry and Reese’s Peanut Butter Cups.
If you haven’t had an Oh Henry before, it’s a log-like bar featuring a nougat center, wrapped in sticky caramel, rolled in peanuts. The whole thing is covered in milk chocolate. I think we all know what Reese’s Peanut Butter Cups are.
When I found out that Oh Henry made a peanut butter version, which basically replaces the nougat with a log of the very same Reese’s peanut butter I already know and love, I was sold. I bought one immediately.
Now I know longer have to choose between two favorites. My new favorite is unquestionably the Peanut Butter Oh Henry, and I hope they never stop making them. However, if they do, I’m prepared. I created a DIY version, a “copycat” if you will, with these Homemade Peanut Butter Oh Henry Bars.
Excellent. I made these for the first time today. Easy instructions and my family loves them.
Carol

How to make Peanut Butter Oh Henry Bars
Making these chocolatey, peanutty, caramel-filled bars is easy. So easy in fact, that the most difficult part is cutting them.
How to perfectly line a square baking pan with parchment paper
Start by lining an 8×8″ baking pan with parchment paper (make sure the paper goes at least halfway up the sides too). Do this by cutting the piece of paper about 4″ bigger than the bottom of the pan (so you’ll be cutting about a 12″ square).
Trace around the bottom of the baking pan and crease the paper where the lines are. Cut vertical slits from the corner to the edge of the paper on each corner. Place the paper in the pan, folding the small paper flaps behind the edges of the parchment that go up the sides of the pan.

Preparing the fillings
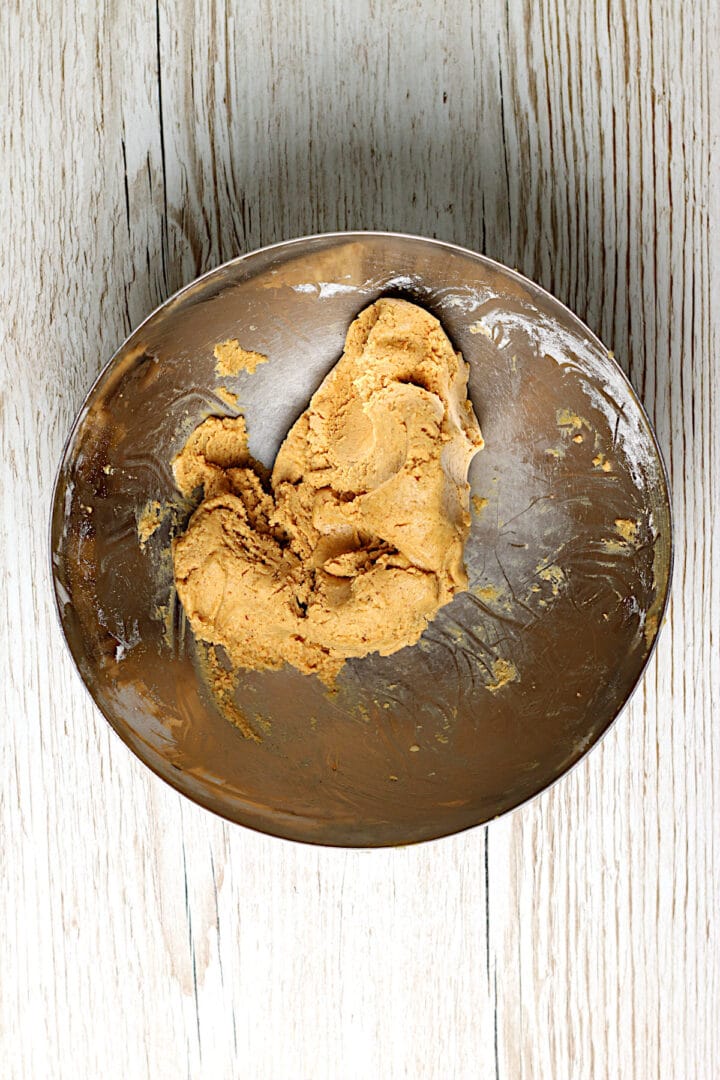
I like to start by making the peanut butter filling since it isn’t temperature-dependant. Start my making sure that your natural peanut butter is well-mixed. Then mix the peanut butter, powdered sugar, water, and salt together in a medium bowl.
I know it sounds weird to add water to this mix, but when you add water in very small amounts to nut or seed butters it actually acts as a thickener. This, along with the powdered sugar, helps to turn the peanut butter into a dough-like texture that will end up being very similar to the Reese’s peanut butter filling that we all know and love.
Now you can go ahead and melt the chocolate. I just do this in the microwave, but you could use a double-boiler if you prefer (just make sure you don’t get any water in the chocolate). It only takes me two 30-second intervals at high in the microwave and a little stirring to get the chocolate nice and smooth.
If your caramel is very thick and sticky, you might want to microwave it a little bit to make it easier to spread too. Be careful though, you’re only working with a small amount, and caramel heats very quickly. Start with only about 15 seconds and check to see if it’s thin enough.

Assembling the Squares
Spread half of the melted chocolate evenly over the bottom of the baking pan, making sure to get into the corners and edges.
Follow this with half of the caramel, drizzling the caramel around the pan. There is no need to spread the caramel, as that would be messy.
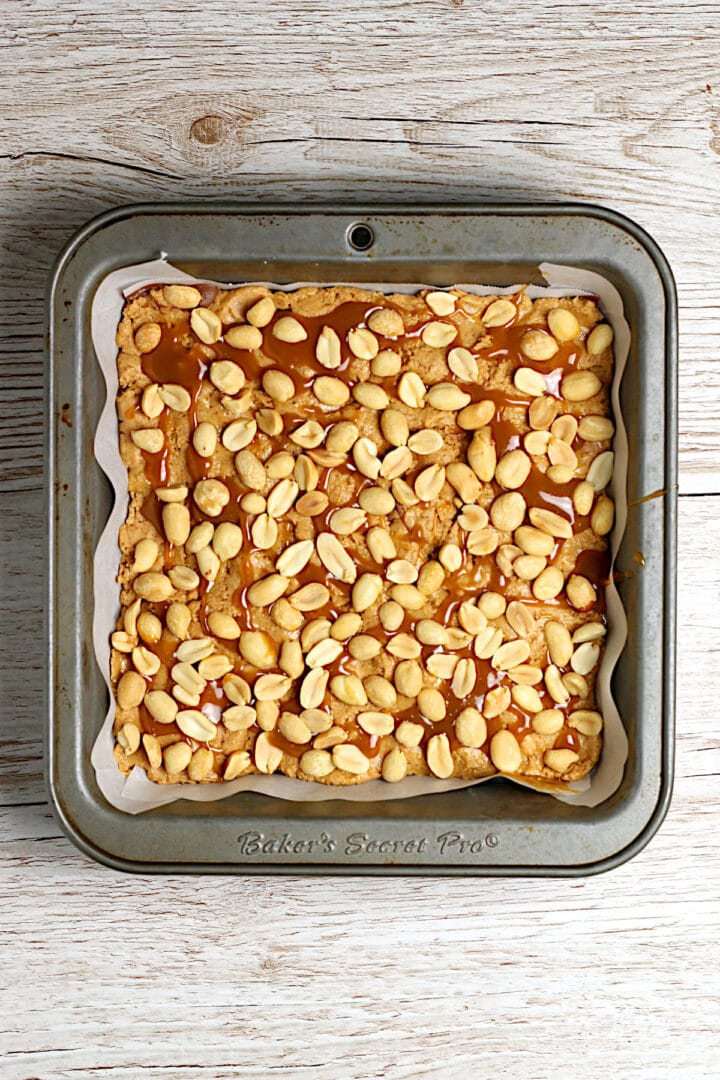
Sprinkle half of the peanuts over the chocolate and caramel, as evenly as possible.
Next is the peanut butter filling. I found that the best way to do this was to scatter pieces of it evenly over the pan, then gently press it flat with a spatula (or your hands).
Repeat the layering with the remaining ingredients (in reverse). Peanuts first (press them gently into the peanut butter filling), then the remaining caramel, followed by the rest of the chocolate. If either the caramel or chocolate has begun to solidify by now, feel free to microwave them for a few seconds to soften.
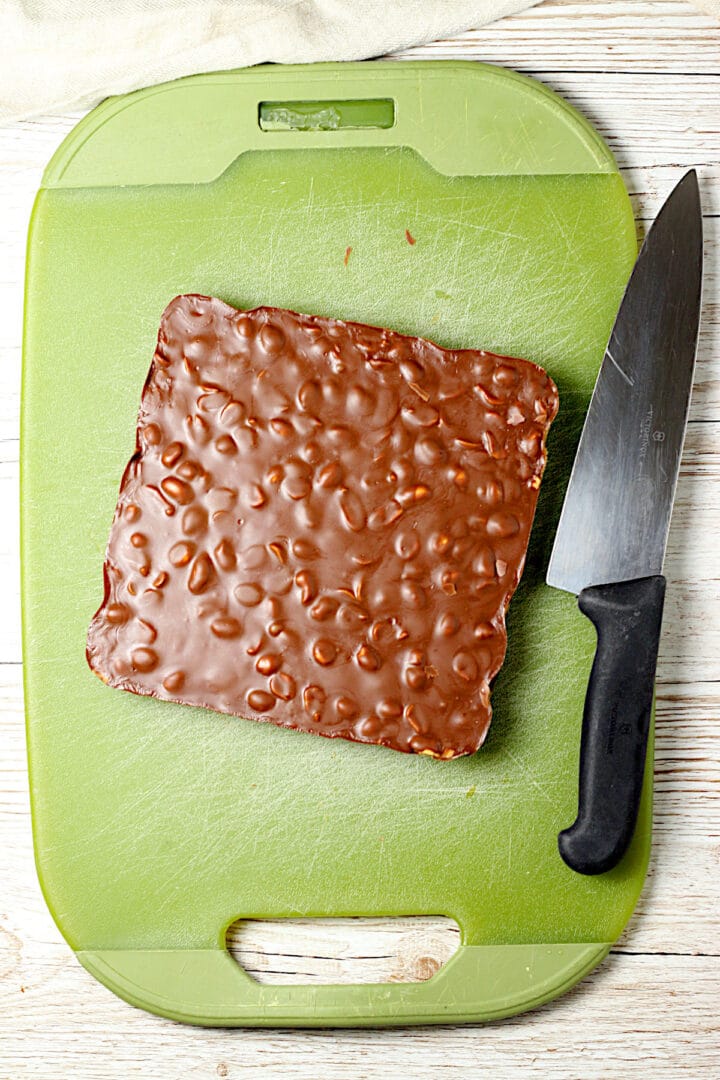
After you’ve spread the top chocolate layer, bang the pan firmly on the countertop a few times to get rid of any bubbles and to help smooth the chocolate.
If your kitchen is cool, you can leave the pan at room temperature to set, otherwise, put it in the fridge for 5-10 minutes.
Note that if you’re using milk chocolate candy melts vs real milk chocolate, it’s easiest to cut the squares before the chocolate fully hardens. (See the recipe below for cutting tips, and the ingredients section below for the pros and cons of using candy melts vs real milk chocolate).
Cut the squares into small pieces, and keep the squares in a large zipper bag or airtight container at room temperature (in a cool spot) or in the fridge or freezer.

Peanut Butter Oh Henry Bars Ingredients
- Smooth natural peanut butter – I’ve been using processed smooth peanut butter (the shelf-stable kind that doesn’t separate and doesn’t need to be kept in the fridge) for peanut butter candy fillings for years, but I realized recently that using natural peanut butter with the tiny bits of peanuts in it would probably more closely replicate the peanut butter filling that Reese’s uses, and I was right. This is the way.
- Powdered sugar
- Cold water – adding water to your peanut butter sounds odd, but don’t skip it. Adding water in very small amounts to nut butters actually acts as a thickener, and it helps to give the peanut butter a dough-like texture.
- Kosher salt – The first time I made these, I didn’t add salt to the peanut butter, and it tasted a little flat. Adding at least 1/4 teaspoon of kosher salt helps to add flavor. You can even use a little more if you like your candy sweet and salty.
- Milk Chocolate Melting Wafers – you can also use your favorite milk chocolate (chop it with a large knife before melting if it’s in bar form). There are pros and cons of each. Candy melts are more stable at room temperature without needing to be tempered. Because they harden more without tempering, your chocolate squares will be more difficult to cut if the chocolate layers harden completely. Milk chocolate melts easily at room temperature when it’s not tempered, but because the chocolate layers will be softer, the squares will be easier to cut.
- Spreadable caramel – look for caramel that comes in a jar or a plastic tub (it might be in the produce section for dipping apples). Caramel sauce (which often comes in a squeeze bottle) may be too runny, and might drip out of your squares after they are cut. See the notes section in the recipe for tips to make your own caramel. You could also use dulce de leche, but it does have a slightly different flavor.
- Roasted unsalted peanuts – or you can use “lightly salted” peanuts if you like your candy sweet and salty.

Want more candy recipes?
Peanut Butter Oh Henry Bars Nutrition Notes
These Peanut Butter Oh Henry Bars are gluten-free as written. To make them vegan and dairy-free, use vegan/dairy-free “milk” chocolate morsels or bars. Consider making date caramel in this case, as finding vegan/dairy-free caramel might be difficult and/or expensive.
The nutrition information in the recipe below is for small, bite-sized pieces (the recipe makes 36 pieces in this case). If you cut your chocolates bigger or smaller than this, the nutrition information will vary accordingly.
Homemade Peanut Butter Oh Henry Bars

Equipment
Ingredients
Instructions
- Prepare a 8×8" baking pan by lining it with parchment paper (cut the parchment paper about 1-2" larger than the bottom of the pan, and cut slits in each corner to help the parchment paper fit the pan).

- In a medium bowl, stir together 1 cup (258 g) smooth natural peanut butter, 1/2 cup (60 g) powdered sugar, 1 teaspoon (5 ml) cold water, and 1/4 teaspoon kosher salt with a spatula. Note that the mixture should become very thick and dough-like (once it starts thickening, you might find it easier to knead it with your hands). Taste the mixture. If you like your peanut butter filling to be a little saltier, add up to 1/4 teaspoon more salt.

- Melt the 2 cups (280 g) milk chocolate candy melts in a medium, microwave-safe bowl in 30-second increments at high heat, stirring after each 30 seconds. Mine was done after 1 minute. Spread half of the melted chocolate over the bottom of the parchment-lined baking pan, ensuring it reaches all of the corners.
- Place 1/4 cup spreadable caramel in a small, microwave-safe bowl. If it's quite thick, microwave it until pourable in 10-second increments (note that caramel heats up very quickly, and can burn easily – don't overdo it). Drizzle half of the caramel over the chocolate.
- Sprinkle 1/2 cup of the peanuts evenly over the chocolate and caramel.
- Spread all of the peanut butter mixture over the peanuts (I found that the easiest way to do this was to scatter pieces of it evenly over the peanuts, then gently press them smooth with a spatula).

- Spread the remaining 1/2 cup of the peanuts over the peanut butter mixture, then gently press them into the peanut butter with your hands or a spatula. Drizzle the remaining caramel over the peanuts (microwave for 5-10 seconds if it's beginning to harden again). Spread the remaining chocolate over the caramel (microwave for 15-20 seconds if it's starting to set), ensuring to cover all of the peanuts. Bang the pan firmly on the countertop a few times to help smooth the chocolate.

- Set the pan somewhere cool to set, but don't leave it too long because it will become difficult to cut if the chocolate sets fully. You can either leave it in the fridge for 5-10 minutes, or at room temperature for 30 minutes. Try to cut the squares when the chocolate is set enough to keep its shape, but before it's completely solid. If it does set, you can either try to put it in a warm spot for 5-10 minutes (try your oven with the light on), or cover the pan with foil and use a blow-dryer on low to gently heat the top and bottom of the pan (make sure to keep the blow dryer moving, and not heat one spot too long).
- Cut the squares into small pieces. For the cleanest cuts, you can fill a tall container (a tall measuring cup or pitcher) with hot water. Dip the knife into the water to warm it up, then wipe the blade dry. Repeat this after each cut. Store the squares in a cool spot in an airtight container or zipper bag. For extended storage, put them in the fridge or freezer.

Nutrition
Notes
Tried this recipe?
Please Consider Leaving a Review!




Excellent. I made these for the first time today. Easy instructions and my family loves them.