Japanese Crystal Candy (Kohakutou)
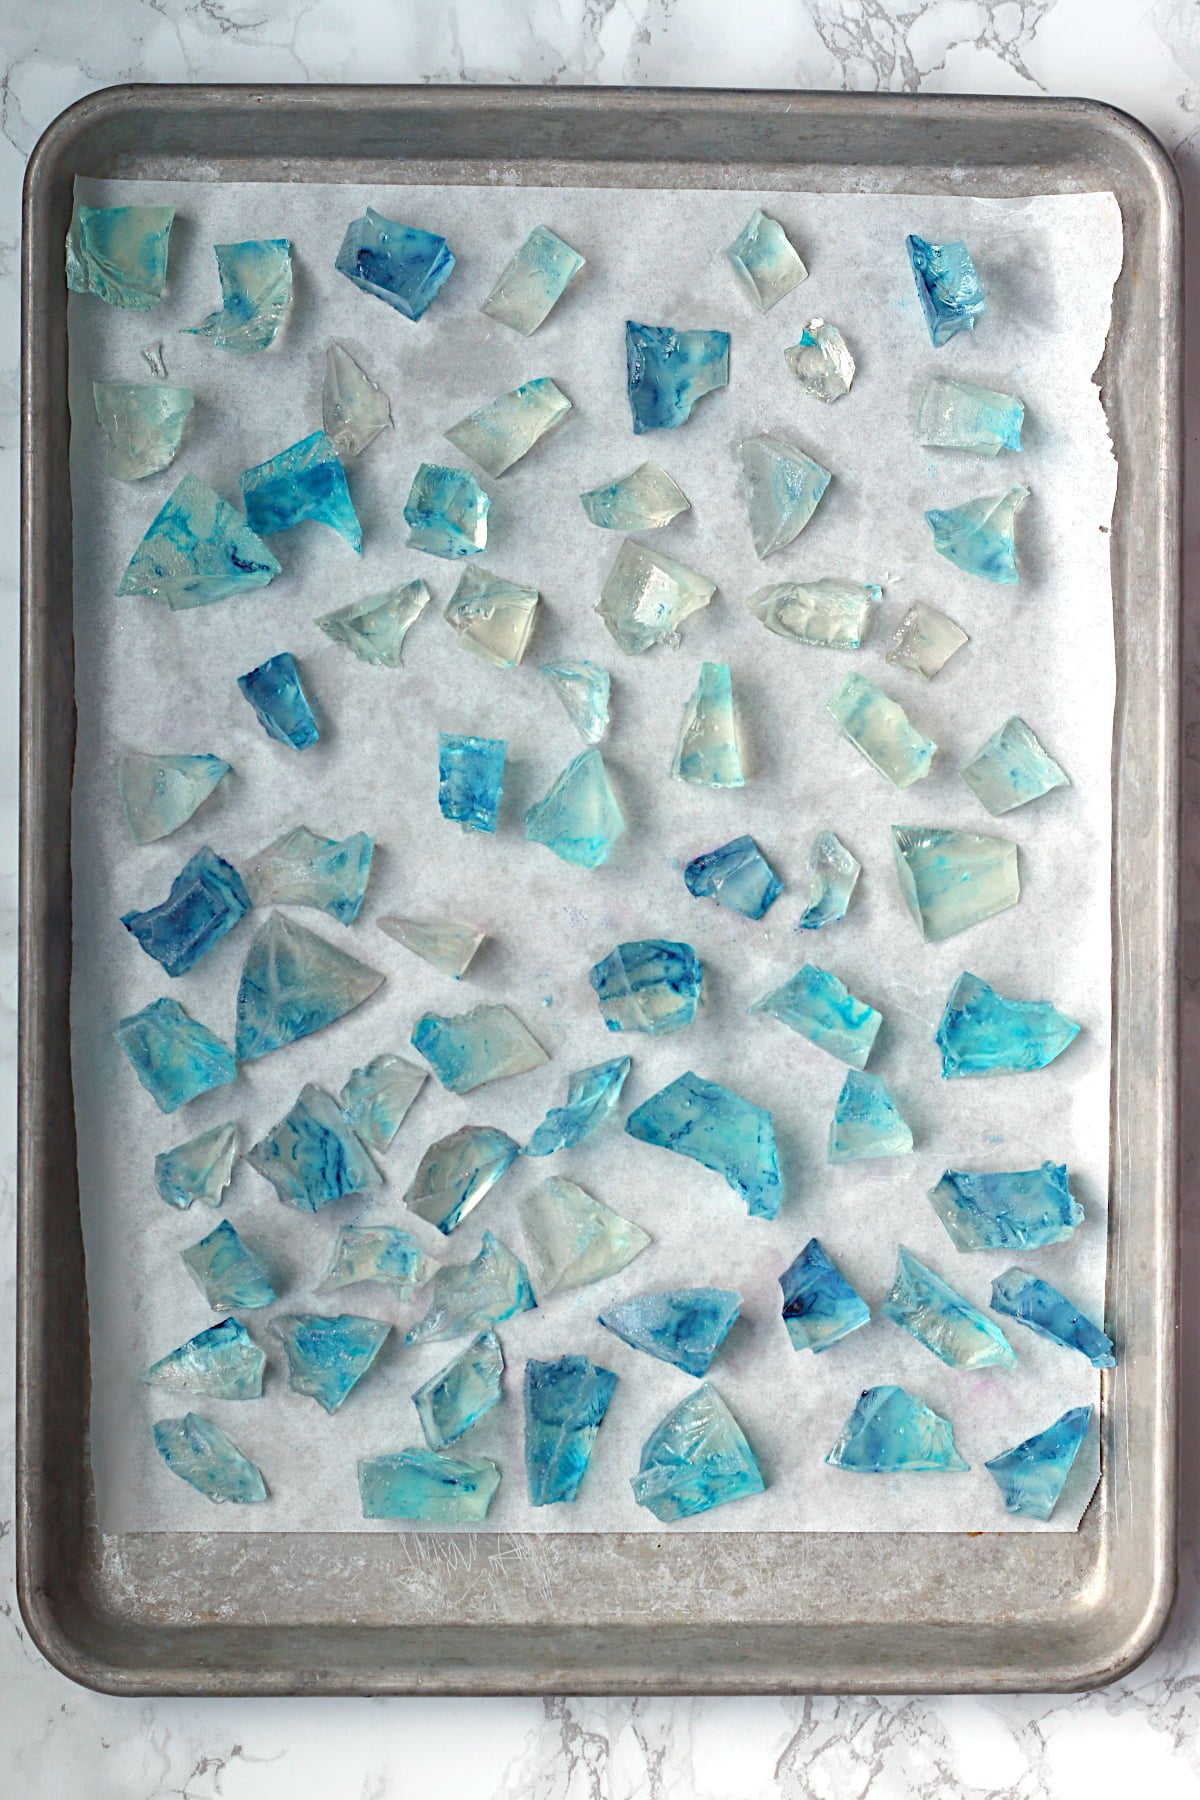
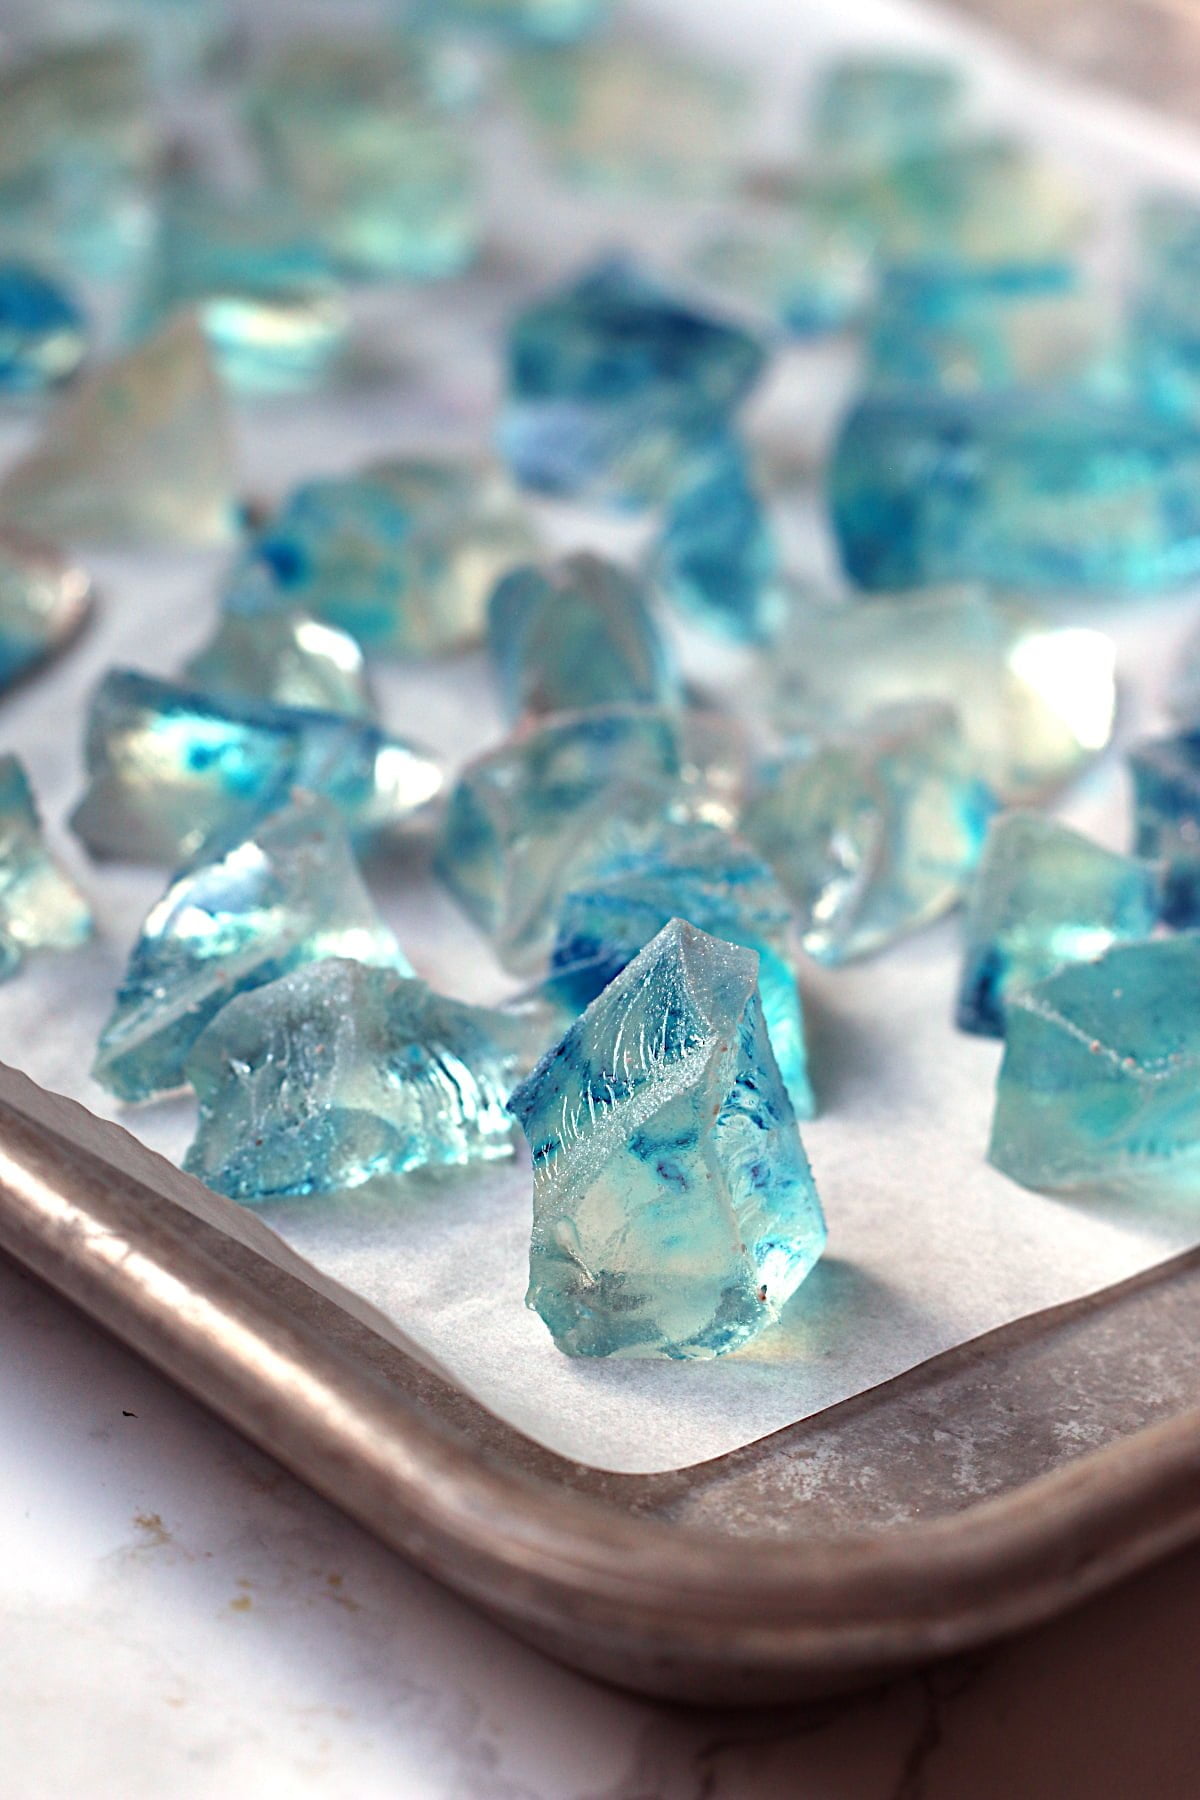
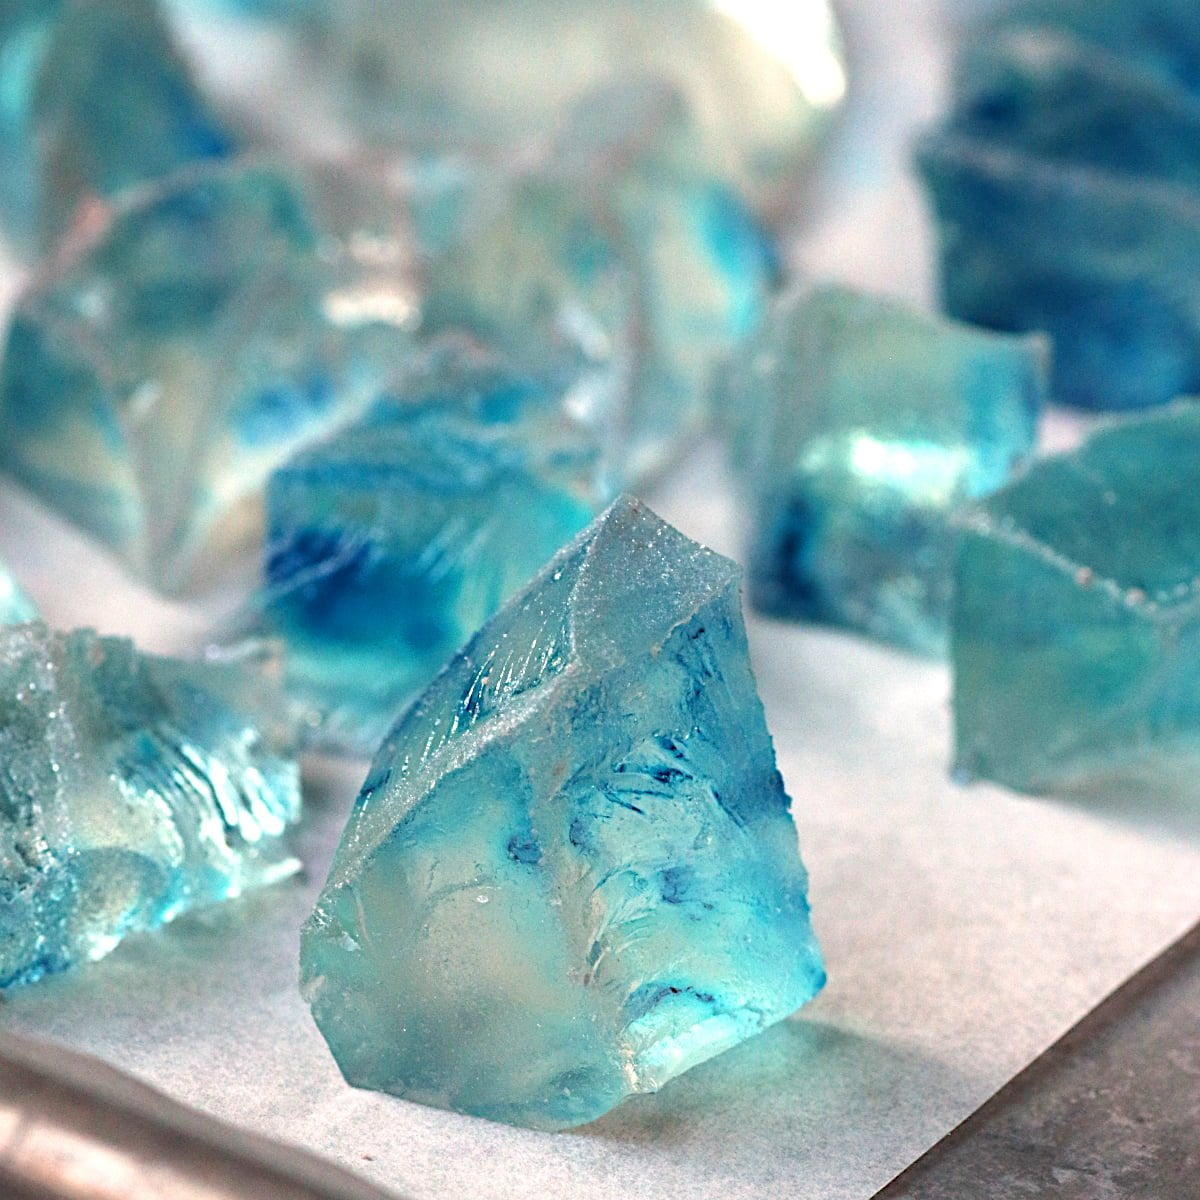
Japanese Crystal Candy is a beautiful agar-based candy that resembles crystals. The candy is easy to make, and no special equipment is needed.
Have you ever made candy before? I have tried several types. Some are very technical and require precise temperature monitoring. If you cook it too much, or too little, the texture of the candy can be greatly affected.
However, some types of candy are very easy to make, and this Japanese Crystal Candy is one of them. The process of making these beautiful clear crystals of sweetness are really no more difficult than making jello. And the good news is that they don’t contain gelatin, so they’re safe for anyone who follows a vegan, kosher, or halal diet.
What is agar agar?
Agar (or agar agar) is a gelatinous material that comes from seaweed. It can be made into sheets, flakes, or powder (which is what’s used in this recipe) that is then dissolved into water or other liquids to thicken foods or form a jelly.
Agar is vegan and is safe for people who follow a kosher or halal diet, unlike gelatin, which is typically used in a similar way.
How to make Japanese Crystal Candy:
Making candy is often quite technical, and sometimes requires precise temperature monitoring. This is not the case with this Crystal Candy. In this case, there is no experience or special equipment required. In fact, the most difficult part about the recipe is finding the ingredients (see the following section for tips).
Start by lightly greasing a heat-proof 9×13″ baking pan or dish. This is where you’ll be chilling the candy to let it set, so make sure you have room in your fridge for it.
Then sprinkle the agar powder over some cold water in a saucepan. After 5 minutes, bring it to a boil and simmer for 2-3 minutes (no need to use a candy thermometer here.) Stir in the sugar and continue to simmer until it’s fully dissolved.
Remove the mixture from the heat and stir in the candy flavoring and citric acid. Pour the mixture into the prepared baking dish.
Using toothpicks or skewers, swirl the food color gel into the candy mixture. Avoid coating the toothpicks with large globs of coloring – you’re aiming for an even swirl of color. You may need to re-dip the toothpick into the color several times.
Move the baking dish into the fridge and chill for up to two hours. Don’t cover the pan with plastic, as moisture will condense on the plastic and drip back onto the candy. Prepare 2 baking sheets by lining them with parchment paper.
Once the candy is set, carefully loosen the edges from the baking pan with a spatula and tip the slab of jelly onto a cutting board (don’t worry if it breaks, you will be breaking it into pieces anyway). Using your fingers, break the slab up into irregular-shaped, bite-sized pieces.
Place the pieces of candy (the “crystals” if you will) onto the prepared baking sheets. If desired, you can brush a little edible glitter on some, or all of the pieces.
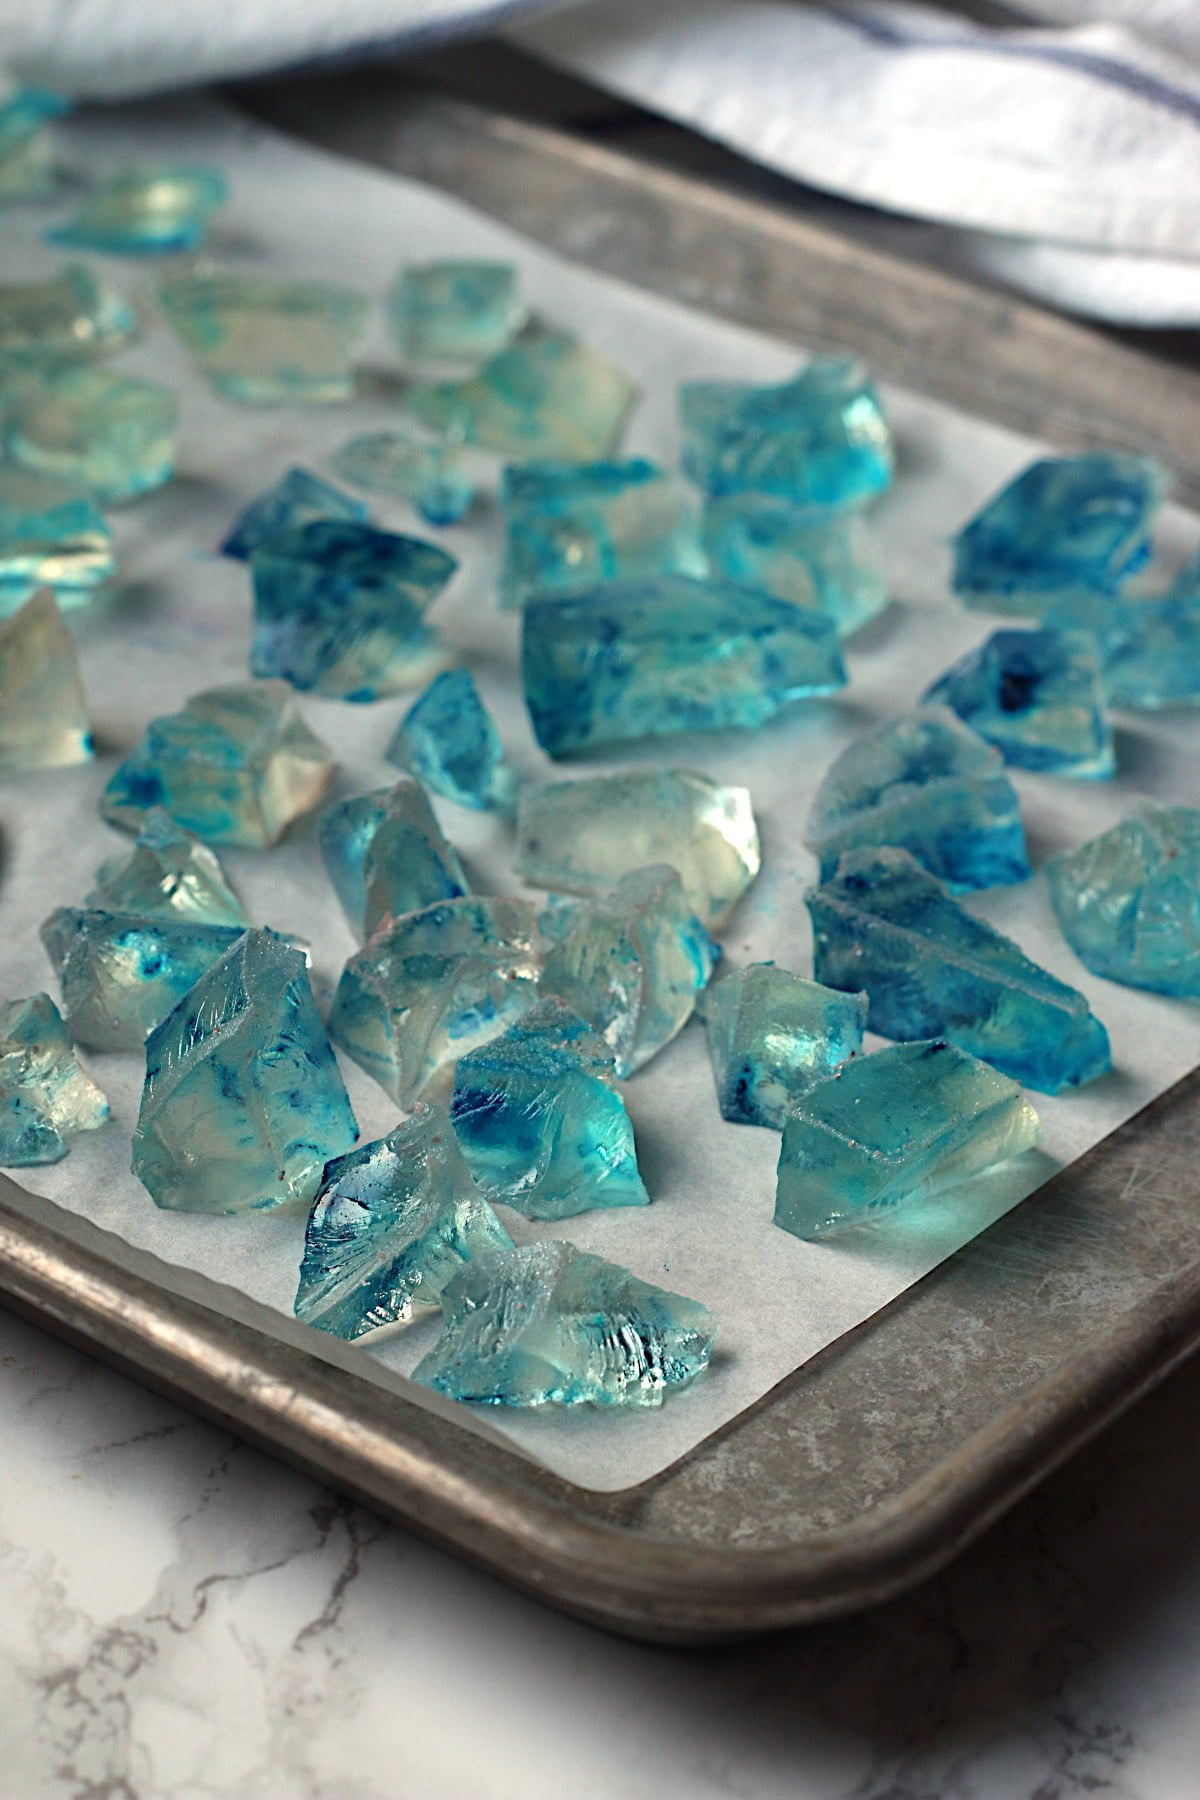
You can eat the candy immediately, or let it sit, uncovered, at room temperature until a hard, crystal-like coating forms on the outside of the pieces.
After the crust is formed, store it in an airtight container or zipper bag at room temperature.
Crystal Candy Ingredients:
- Cold water – use whatever water you normally drink (tap water is fine).
- Agar agar powder – sometimes you can find this in Asian supermarkets (though I couldn’t find it locally at any of mine). If not, try local specialty cooking/baking stores or order it online.
- Granulated sugar
- Candy flavoring – you can find this in specialty cooking/baking stores, or maybe craft stores that have candy-making supplies. I have seen it at Bulk Barn in Canada. There are different brands available, but I used the LorAnn brand. The bottles are tiny, but one will make approximately 3 batches of this crystal candy.
- Citric acid powder – This is available at cooking/baking specialty stores, and I have seen it at Bulk Barn. If not, find it online. Make sure whatever you choose is food-grade.
- Gel food coloring – This is widely available anywhere that has cake decorating supplies, usually in the Wilton brand. It would make the most sense to choose a color or colors that match with the flavor you are using (eg. red/pink if you chose cherry flavor), but really, it’s your creation, so feel free to make it look however you want.
- Edible glitter – I thought that adding some edible glitter to this candy would make it look super cool. However, it was far less noticeable than I expected (maybe due to the silver color I used). Can you even see it in the photos? So try using it if you already happen to have some, but I probably wouldn’t go out and buy any just for this recipe.
Want more Candy recipes?
Crystal Candy Nutrition Notes:
The nutrition information in the recipe below is for one piece of crystal candy if you break your recipe into 100 pieces. If you make significantly fewer large pieces, the nutrition information will vary accordingly.
Note that unlike many candies, this crystal candy does not contain gelatin and is considered vegan. It is also safe to eat for people who follow kosher (it is pareve) or halal diets.
Equipment
Ingredients
Instructions
- Lightly grease a 9×13" heat-proof baking dish with neutral-flavored cooking oil or spray. Set aside.
- Add 1 3/4 cups (414 ml) cold water to a small or medium saucepan. Sprinkle 1 1/2 Tablespoons (12 g) agar agar powder over the water, and let sit for 5 minutes. Heat the water over high heat to bring to a simmer. Reduce heat to medium-low and simmer for 3 minutes, stirring constantly with a spatula.
- Slowly pour in 3 cups (600 g) granulated sugar, and continue to stir and simmer for 3 more minutes, until all of the sugar is completely dissolved. Remove the pot from heat and stir in 1/4 teaspoon (1.25 ml) candy flavoring and 1/4 teaspoon (0.6 – 1.25 ml) citric acid powder.
- Pour the agar mixture into the prepared baking dish. Using toothpicks or skewers, swirl one or more gel colors into the mixture until you are happy with the appearance.
- Being careful not to agitate the dish too much, move the baking pan to the fridge, and chill uncovered until it is fully set (1-2 hours).
- Line 2 sheet pans with parchment paper and set aside. Remove the baking dish from the fridge, and carefully loosen the edges of the jelly with a spatula. Turn the jelly onto a cutting board (don't worry if it breaks).

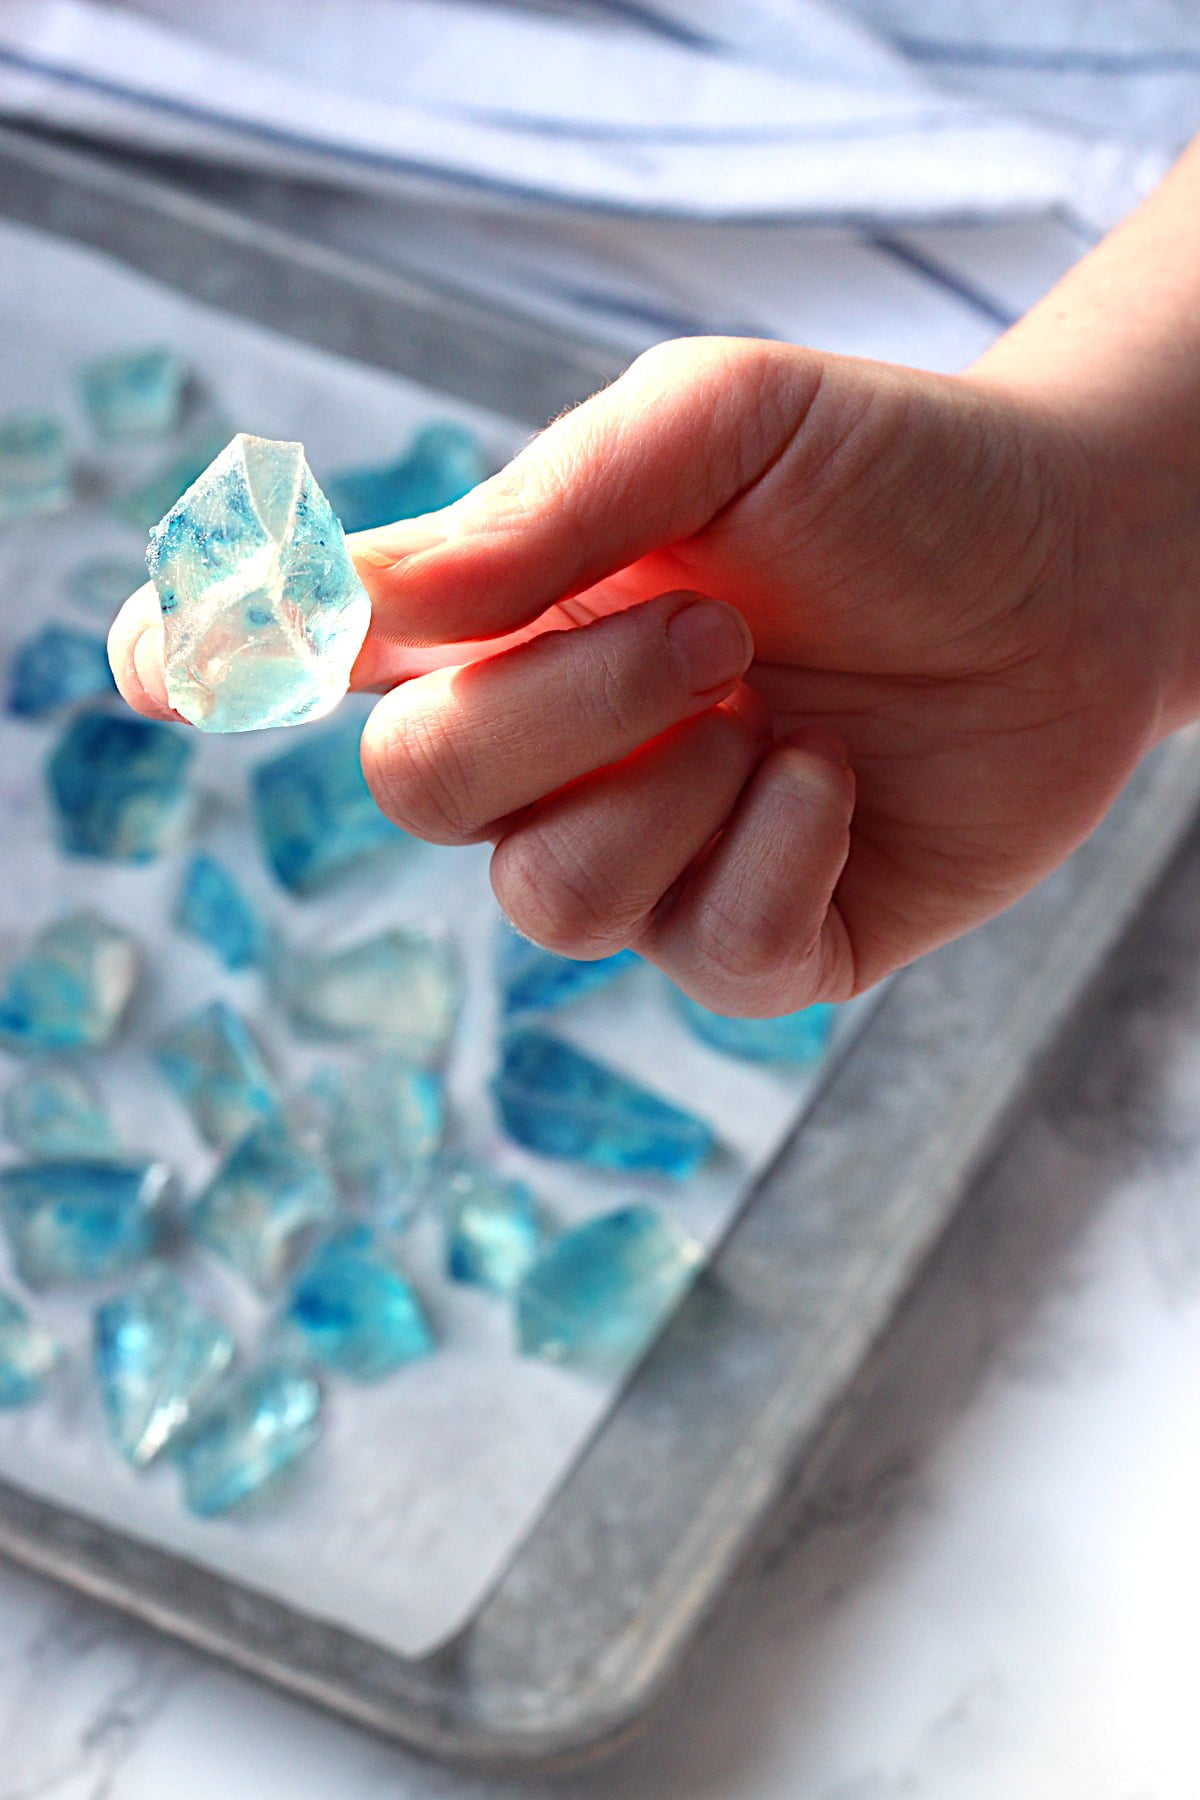
- Carefully break or cut apart the jelly into 1.5-2" (~3.5-5cm) pieces. I prefer to break them apart with my fingers, as it creates more natural-looking rock-like shapes. If you choose to cut, cut the pieces into irregular shapes. Place the pieces on the prepared baking sheets. If you like, lightly brush edible glitter onto the edges of some or all of the pieces for a little sparkle (note that some edible glitter has a "safe limit" and should be used in small quantities).
- The crystal candy can be eaten immediately, but letting it dry, uncovered at room temperature causes it to get a crystal-like crust on the outside. The longer you let it dry, the crunchier it will become. After it's as crunchy as you want it, store any leftovers in an air-tight container or zipper bag.
Nutrition
Tried this recipe?
Please Consider Leaving a Review!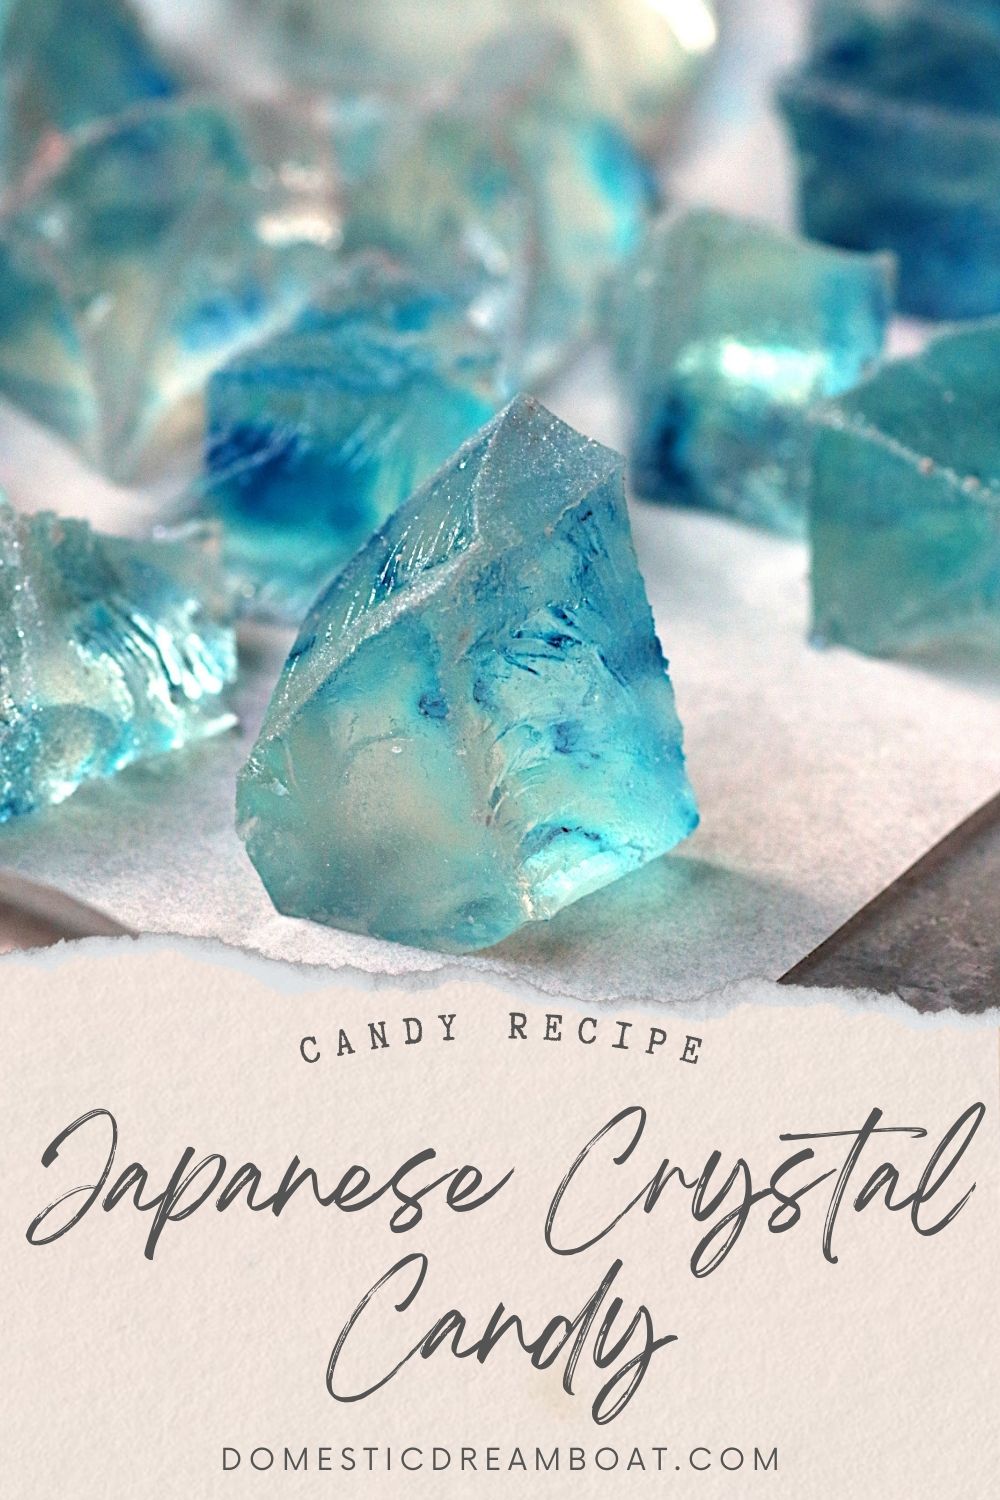

When I first followed the recipe it was too loose and didn’t set. Once I put in back in the pot and let it boil for 3-4 minutes, it worked great. A medium simmer just didn’t do it for me.
I’m not sure if different brands of agar agar powder require different temps/times to dissolve and gel. I’ve only ever used one type, and have always had success. Also, elevation may play a role. If you happen to live at high elevation, you may need to boil a little longer.
Do you think it would be possible to use a artificial sweetened beverage and then to add less amount of sugar, but still get the crystal effect?
It’s very hard to say without me having tried it. But my general impression, since the texture in this recipe comes more from the agar is maybe. If you want to try it, I’ll offer these tips: don’t change the total amount of liquid or agar powder (eg. use 1 3/4 cups artificially sweetened beverage). It would be difficult then to estimate how much sugar to use, but you’ll still need some. I would say somewhere between 1-2 cups? If the atificial beverage is the only flavor you’re planning to give this candy, I’m also not sure that it will be enough flavor. If you do decide to experiment, please let us know how it turns out.
Could you use a silicone mold to make specific shapes
Yes, I don’t see why not.
No. The sugar is required for crystallisation and preservation.
How long does this keep and how do you store it?
I like to keep it exposed to air for at least a day or two to allow it to form a crystal-like sugary crust, but if you live in a very humid climate, this may not occur. After that, I keep it in an air-tight container or zipper bag. Because of it’s high sugar content, it will last a long time at room temperature. However, if you do happen to find any mold on it, toss it.
I tried the recipe and let it sit in the fridge over night and it still did not set. Do you think I can just let it melt and come to a higher level simmer and try again? Or do I need to remake the entire recipe
If you are sure you got all of the measurements right, agar can be re-melted and re-cooked. Agar can be picky. It needs to reach 185-194°F before setting. Also make sure that you didn’t add more citric acid, as too much acidity can prevent setting. I can’t guarantee that your batch will set the second time around, but it’s worth a try!
Thank you for sharing this recipe! My kids and I made these today. I REALLY think the secret is to check the temp while cooking with sugar. We didn’t use the telephone brand agar, got it to temp after adding the sugar, and it set up within the hour. Can’t wait to see it change over next few days!
First time making these. I followed the recipe and it turned out perfect. They set in the fridge in about an hour but they’re still drying out as I just made them yesterday. I don’t have a candy thermometer, nor did I use the agar agar telephone brand, I used the cheapest brand I could find off Amazon. The only thing I would change personally is I added too much flavouring, so they taste too artificial. I will add less next time as I didn’t measure-I eyeballed it or maybe better quality flavouring would help. The other thing, I made mine too thin and cut them too small, they’re harder to shape into crystals the way I did it. Some are crystals and some I left as plain squares lol. I can’t wait to make these again with my adjustments (which was my own doing, the recipes fault). I did not have citric acid so left that out. They look so pretty, can’t wait to try the finished product.
*Not the recipes fault
When i was leaving it out at room temperature it grew mold.
Interesting, I’ve never had that happen. However, I do live in quite a dry climate. Where I live it is also available for purchase, sold at room temperate. Make sure to let it dry out before sealing it into a container or bag.