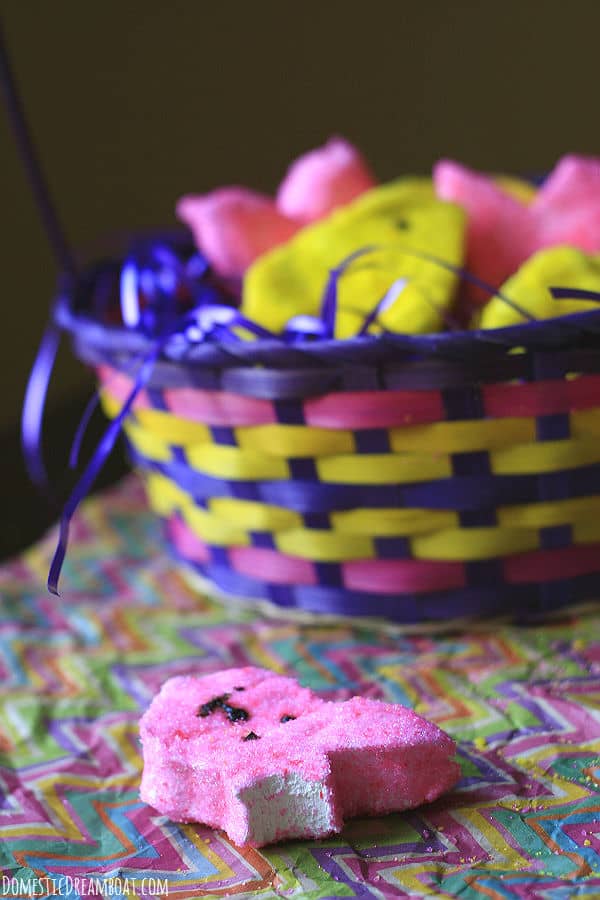
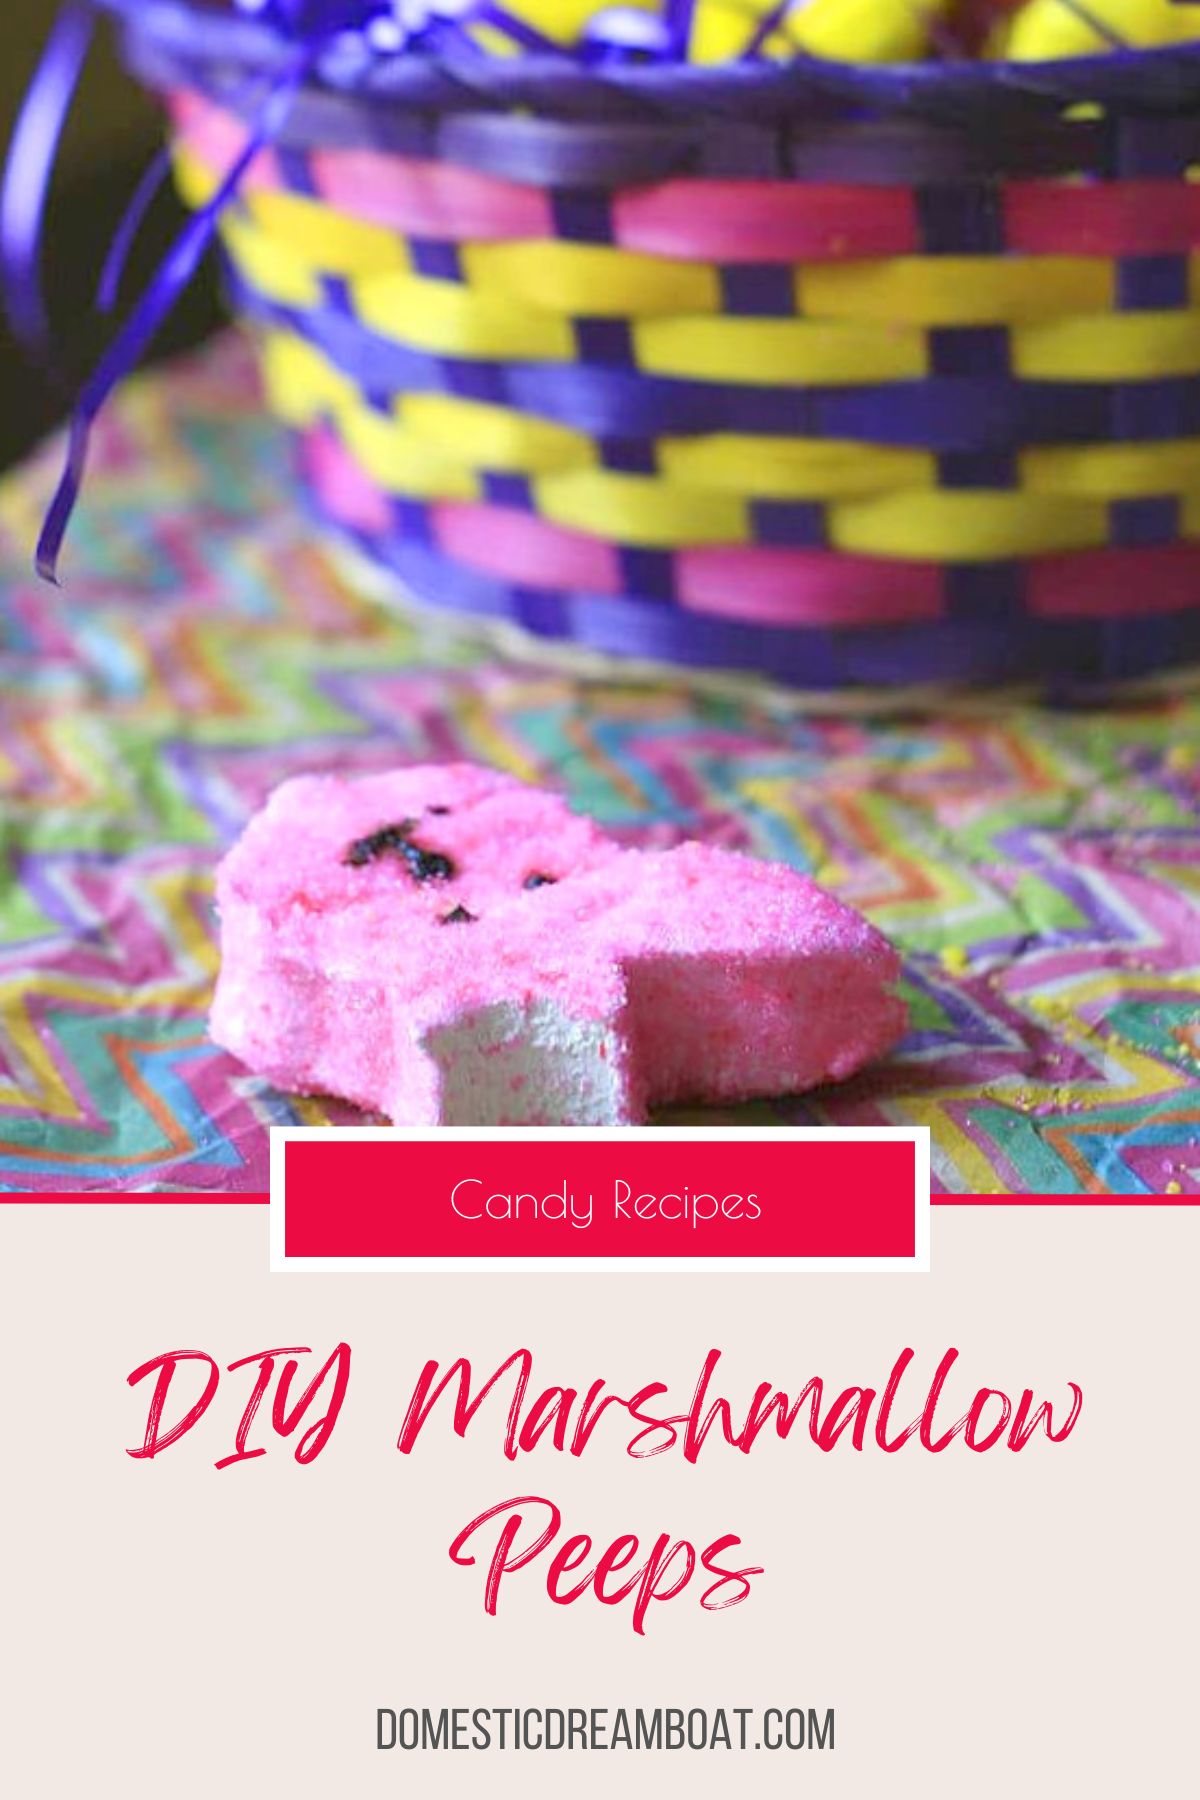
Making DIY Peeps from homemade marshmallow is not only fun, but tastes better than storebought and you can decorate them how you want!
Peeps are one of the great classic Easter treats. Like Cadbury's Creme Eggs, it seems they are something you either love or hate. Being a marshmallow fan, I like them.
Soft, fluffy marshmallows shaped into cute Easter creatures (bunnies, or the classic chicks) coated with neon-dyed sugar. I can't say I NEED them at Easter, but I certainly enjoy them when I do have them. I thought it would be a fun project, so I added Peeps to my Easter treat list this year.
Making Peeps requires making homemade marshmallows, and I was very nervous the first time I tried. But really, it's not that bad, and I've made them many times since. I much prefer the flavor and texture of homemade marshmallows to store-bought.
How to make DIY Peeps or Homemade Marshmallows
Like many homemade candies, making homemade marshmallows does require using a candy thermometer. This is something you can't eyeball - if you over- or under-cook the sugar mixture, your marshmallows will not set up properly.
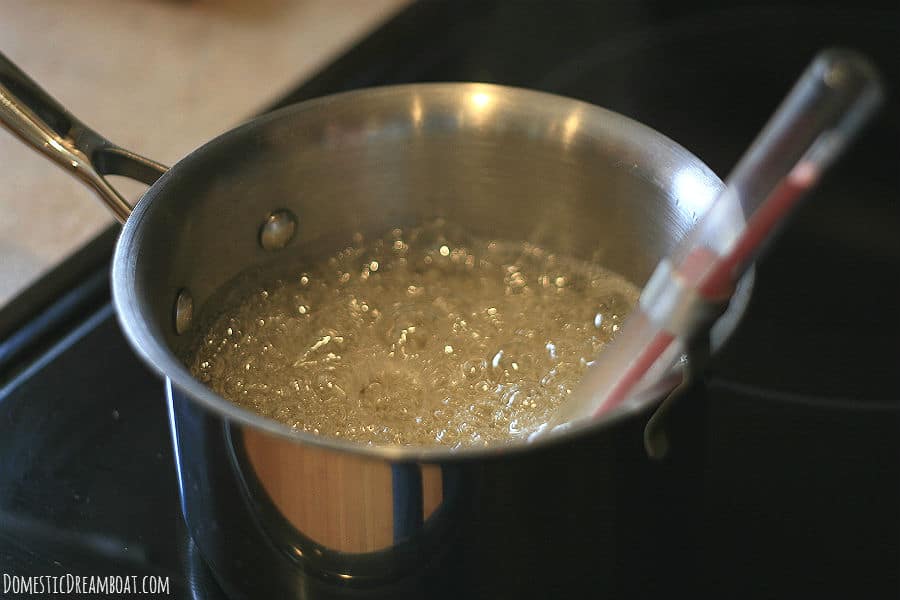
After adding the gelatin to some cold water to rehydrate, add the sugar, corn syrup, and some water to a saucepan to boil. This is where the candy thermometer comes in. You will allow the mixture to boil until it reaches 240°F, which will ensure that your marshmallows will acheive the proper texture when they set.
Then you will pour the boiling sugar mixture over the hydrated gelatin (make sure to do this very carefully), and begin mixing immediately. The mixer will whip air into the sugar mixture, giving the marshmallows their signature fluffy texture.
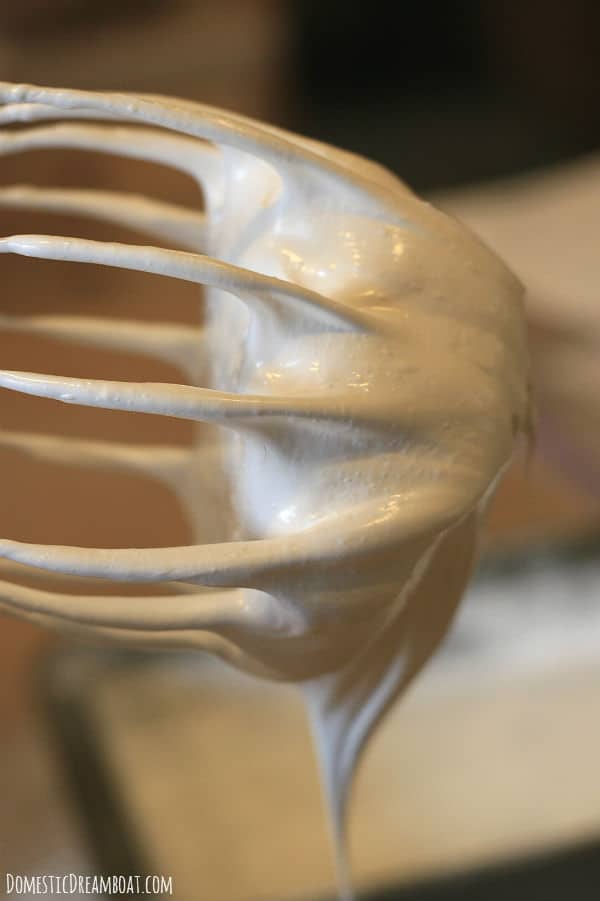
This is what your finished marshmallow looks like straight out of the mixer. Basically like marshmallow creme. Trust me, you will be tempted to eat it, but try not to. You don't have any time to lose - the marshmallow starts to set up very quickly. It's very messy business getting it into your prepared pan, so hopefully you don't mind getting a little sticky!
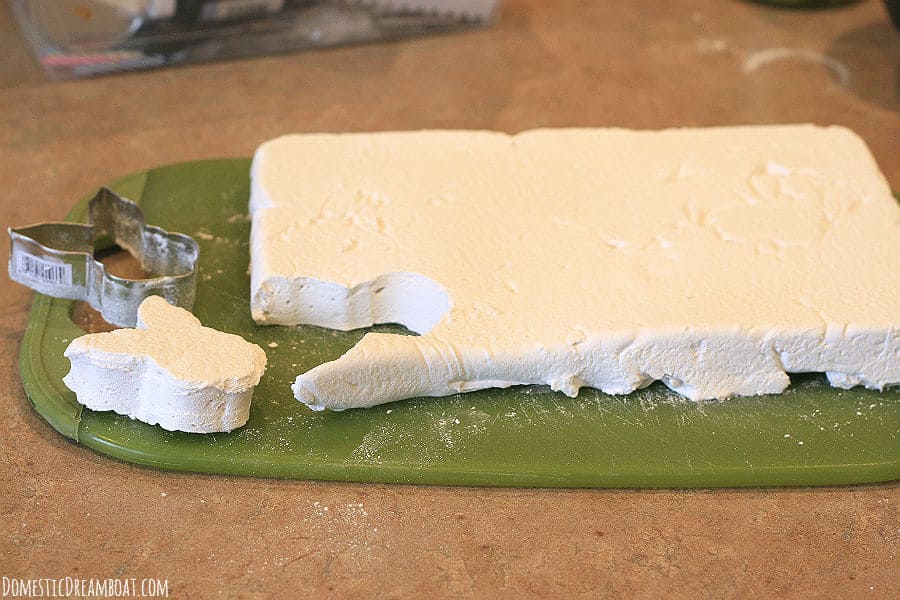
Now for the fun, but somewhat messy part - cutting them. If you're just cutting them into squares for regular marshmallows, it's easiest to cut them with a large knife or pizza cutter that has been dusted with the icing sugar/cornstarch. If you're using a cookie cutter to make fun shapes, first dip it in the mixture to prevent sticking.
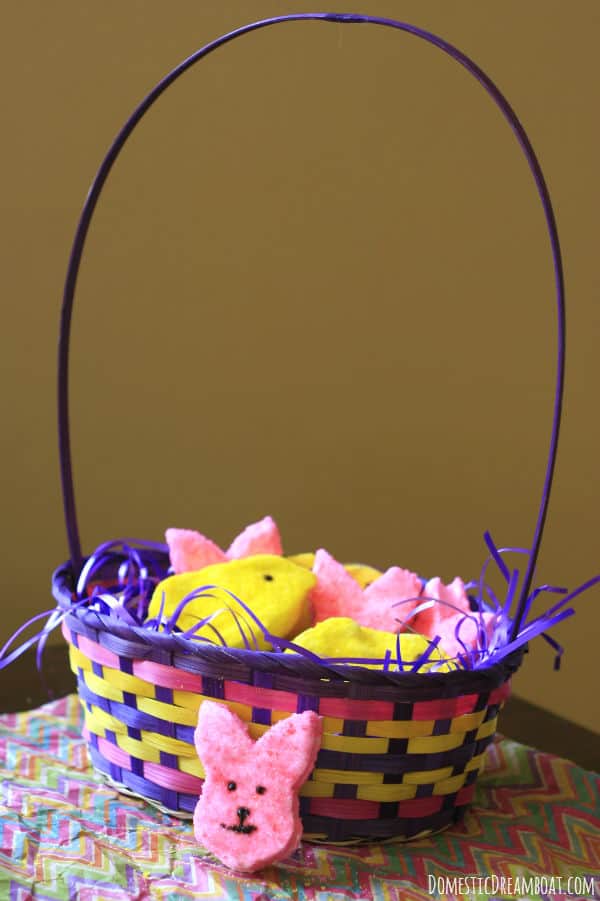
You can buy colored sugar with cake decorating supplies in craft stores, or you can made your own by mixing a couple drops of food coloring with granulated sugar. I found mixing with my fingers worked best, but I did end up with tie-dyed fingertips. To get the sugar to stick, dip your fingers in some water, then dab it over the entire surface of the marshmallow, then toss to coat.
If you want, you can make a paste out of cocoa powder and water (or use melted chocolate) to draw on the faces with a toothpick or a small (clean) paintbrush.
DIY Peeps/Homemade Marshmallow Ingredients:
- Canola oil: or any other neutral flavored oil, or non-stick spray
- Powdered sugar: This is combined with cornstarch to prepare the pan, and to coat individual marshmallows with to prevent them from sticking together.
- Cornstarch: This is combined with powdered sugar to prepare the pan, and to coat individual marshmallows with to prevent them from sticking together.
- Unflavored gelatin - Gelatin is typically sold either in boxes of envelopes or bulk tubs. If you don't intend to use unflavored gelatin for other recipes, just buy a single box of envelopes.
- Ice cold water
- Granulated sugar
- Light corn syrup
- Vanilla extract
- Colored granulated sugar (only if making DIY Peeps): If you're going to make DIY Peeps, you will be coating them in granulated sugar, which gives them a slight "crunchy" texture. Unless you want to keep your marshmallows white, you will want to use colored sugar. I colored mine with Wilton Gel Color when I made mine, but I did find it difficult to distrubute the color evenly. It is also possible to purchase colored sugar, but most of it has a much coarser texture than standard granulated sugar, which is what is used with store-bought Peeps, and will likely lead to your DIY Peeps having a crunchier texture.
Do you need any special equipment to make Homemade Marshmallows?
Yes. To successfully make homemade marshmallows, you will need a candy thermometer. You need to cook the sugar syrup that goes into the marshmallows to a specific temperature to ensure that the marshmallows set to the correct consistency.
You will also need a high-quality mixer. It is easiest to use a stand mixer as it is hands-free, but a high-powered hand mixer will work in a pinch.
Homemade Marshmallow Substitutions and Variations:
The ingredients that go into marshmallows are pretty basic, and there's not much room for substitutions or variations. However, it is possible to change the flavor from basic vanilla to something else.
To try to give your homemade marshmallows your own spin, try some of the following ideas:
- replace the vanilla with an equal amount of another flavor extract (try mint, coconut, or various fruit flavors)
- Mix ¼ cup cocoa powder with a little water to make a paste. Add this to the marshmallow just after you add the boiling sugar mixture to the mixer bowl. In this case, you could also mix a little cocoa into the powdered sugar-constarch mixture that you coat the marshmallows with.
- Use freeze-dried fruit powder to add some natural fruit flavor. Simply add your favorite freeze-dried fruit to a food processor and process until you get a powder texture. Sift out any seeds. Add about ¼ to ½ cup of this to the marshmallow, towards the end of the mixing process (eg. when you would normally add the vanilla).
- Coat your marshmallows in chocolate. Simply melt some milk or dark chocolate in a double boiler or in the microwave. After your marshmallows are cut and coated in the powdered sugar-cornstarch mixture, coat them in the chocolate and onto a parchment-lined baking tray to set.
Want more Easter Treat recipes?
DIY Peeps/Homemade Marshmallow Nutrition Notes:
Marshmallows, whether homemade or otherwise are pretty much just pure sugar. They are gluten-free, and dairy-free.
However, it's important to keep in mind that they do contain gelatin, which is made from animal products so they are not vegetarian or vegan, and are not kosher or halal.

Homemade Marshmallow Peeps
Equipment
Ingredients
- Canola oil or non-stick spray
- ¼ cup powdered sugar
- ¼ cup cornstarch
- 7 teaspoons (3 packages) unflavored gelatin
- 1 cup ice cold water, divided
- 12 ounces granulated sugar (about 1.5 cups)
- 1 cup light corn syrup
- 1 teaspoon vanilla extract
Instructions
- Prepare a 9x13" baking pan as follows: spray lightly with canola oil. Mix powdered sugar and cornstarch together, then pour it into baking sheet. Turn pan around to coat it evenly with the cornstarch mixture. Pour excess into a dish and save it for later.
- Sprinkle gelatin powder over ½ cup of the cold water in the bowl of a stand mixer.
- Heat corn syrup, sugar and the remaining ½ cup water over medium high heat in a medium, covered saucepan for 3-4 minutes. Remove lid and attach a candy thermometer to the side of the pot. Continue cooking until temperature reaches 240°F. (The mixture will begin to boil vigorously before the temperature is reached.)
- Once the temperature reaches 240°F, immediately remove from heat. Turn stand mixer on low speed and pour hot sugar mixture slowly down the side of the bowl. Once it has all been added, turn mixer to high speed. Continue whipping until marshmallow is white, lukewarm, very thick and fluffy. Turn mixer to low speed and add vanilla. Turn mixer back to high speed and mix until vanilla is incorporated, 30-60 seconds.
- Pour whipped marshmallow into the baking pan, spreading it evenly with an oiled spatula. Sprinkle the top with leftover cornstarch mixture, saving excess for later. Let sit uncovered for at least 4 hours.
- When marshmallow is set, cut it with a greased knife or cookie cutters in desired shapes.
- For making peeps: wet all sides of the cut marshmallow with your finger dipped in water. Toss in colored sugar (see note) to coat.
Notes
Nutrition



Leave a Reply