These rich-tasting Sweetened Condensed Milk marshmallows don't use corn syrup. They have a creamy color and a slight caramel flavor.
Did you know you can make marshmallows using sweetened condensed milk? Neither did I. But after I made regular marshmallows for the first time, it got me thinking about what I could do to make them even better.
Marshmallows are typically made with corn syrup, sugar, and gelatin. I started thinking about what I could use to replace the corn syrup and sweetened condensed milk came to mind. It's about the same consistency as corn syrup, and tastes SO good!

A quick Google search led me to absolutely no existing recipes, so I made it up as I went along. Luckily, they (mostly) turned out great!
Why Make Marshmallows with No Corn Syrup?
There is limited evidence to believe that corn syrup is in any way harmful, so if you're going to make these marshmallows instead of the standard corn syrup containing marshmallows, make them because they have a rich, caramel-like flavor and because of their denser but still soft and fluffy texture.
Is corn syrup bad for you?
Many people avoid using corn syrup at home, or as an ingredient in products they buy because they think it's "bad".
The truth is a little more complicated than that.
When people hear about corn syrup being "bad", the corn syrup that's being referred to is high fructose corn syrup that's used as an ingredient in some commercial foods. This is not the same thing as the bottle of corn syrup you buy to add to baked goods at home. The corn syrup we buy at the store is not high fructose.
Also, while high fructose corn syrup has been reportedly tied to all sorts of health concerns like obesity and diabetes, the evidence is inconclusive.
However, consuming too much sugar of any kind can increase health risks, and there's limited evidence reason to believe that corn syrup of any kind behaves differently than other kinds of sugar.
How to make Sweetened Condensed Milk Marshmallows
This spin-off of homemade marshmallows starts almost like the ones that I made my Peeps from. The only difference is that instead of corn syrup, I used an equal measure of sweetened condensed milk. Everything else, including the method, is the same.
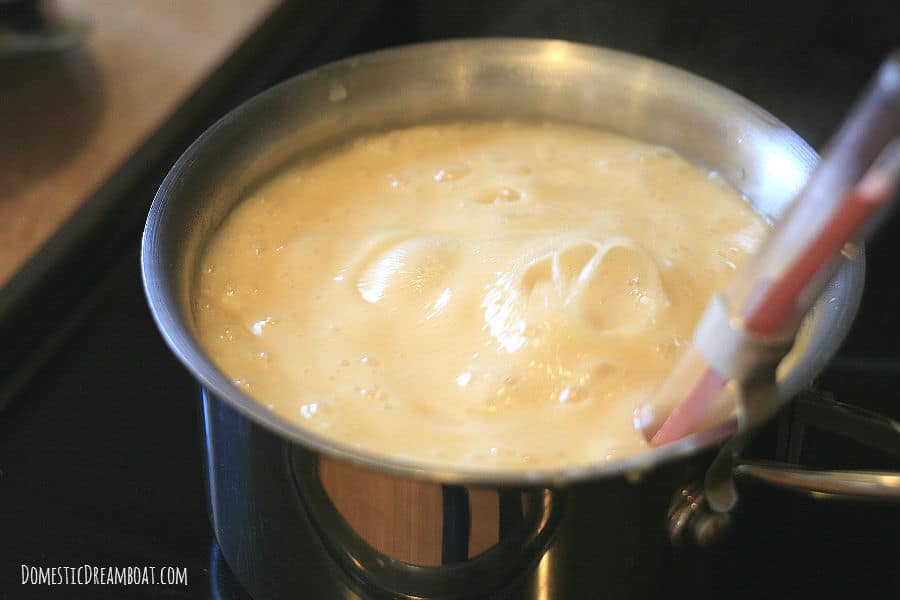
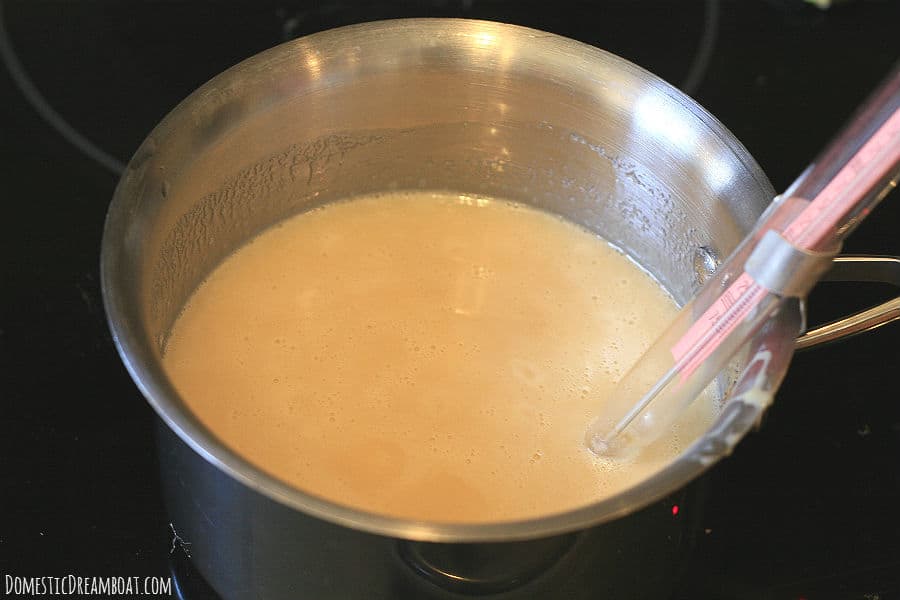
Heat the sugar mixture while monitoring the temperature with an instant-read thermometer.
This time, the mixture boils up a lot frothier than with a corn syrup-based recipe, due to the protein content of the milk (note the difference in the heights of the liquid in the above two pictures). If I had used a smaller pot (mine was 1.9 quart/1.7 liter), I would have been in for a huge mess! So DO NOT use a pot smaller than this if you try this recipe!
I did run into trouble with slightly burning my sugar mixture, which is something I wondered about before I tried it.
About 30 seconds after I hit the 240°F mark (I guess I should have turned it off a little sooner), I smelled burning. Sure enough, when I poured it, the bottom was black. However, I didn't pour the burnt part into the mixer and the finished product did not look or taste burnt at all.
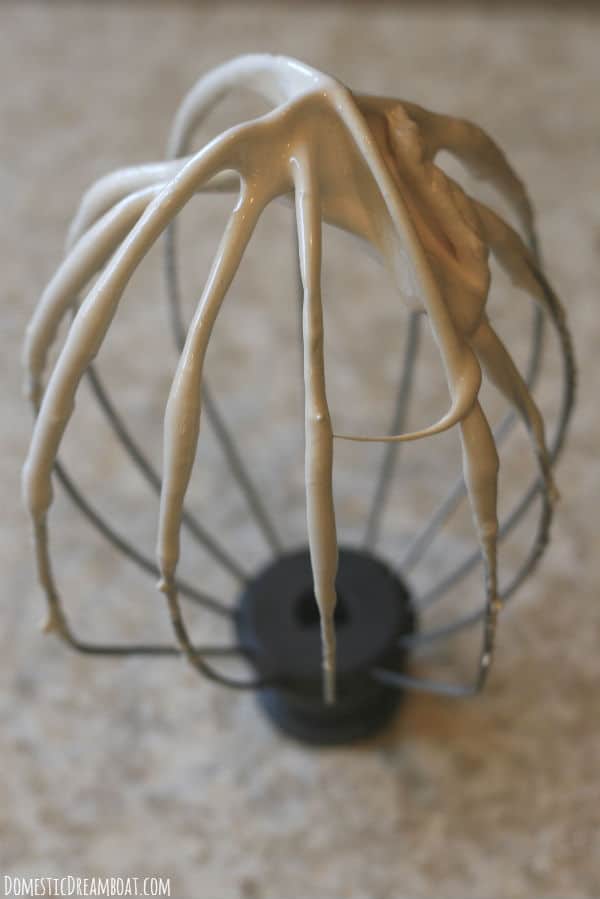
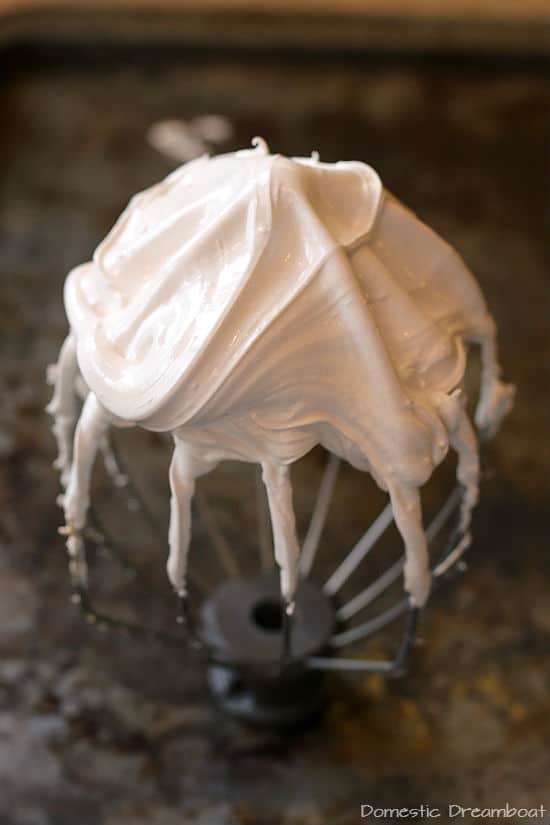
The marshmallow after being whipped is a more beige creamy color, due to the color of the sweetened condensed milk. It also didn't end up being as stiff as the corn syrup-based marshmallow, which I wonder if a longer whipping time would have remedied.

The finished marshmallows had a wonderful slightly milky, caramel flavor. Again, they were a creamier color than regular marshmallows.
They were a bit flatter and denser than regular marshmallows, but perhaps longer whipping time would change that. They were especially good coated in chocolate.

To coat with chocolate, melt your desired chocolate with a little coconut oil or shortening in a double boiler. Dip marshmallows to coat and decorate with sprinkles.
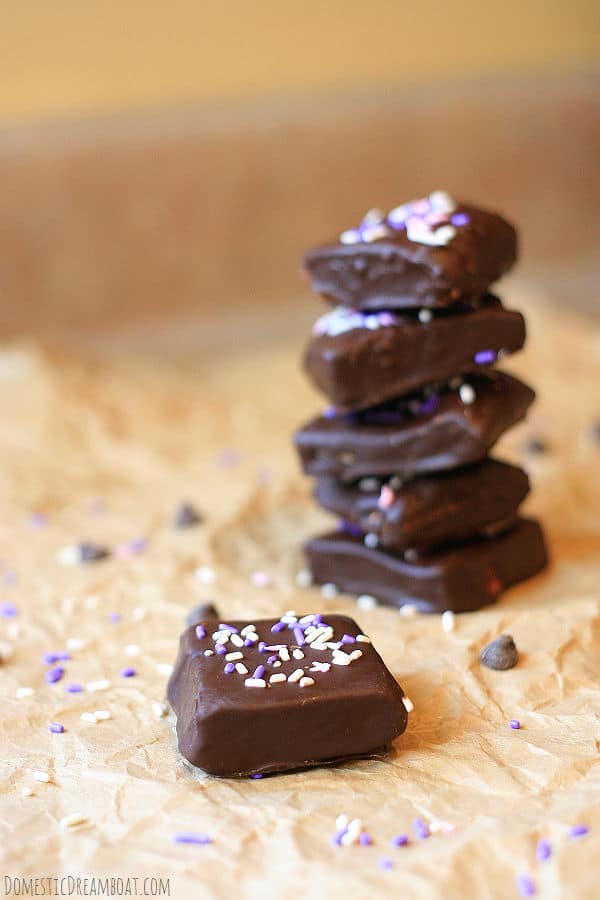
Overall, these were a nice change from regular marshmallows, as they had a bit of a richer flavor. I don't think they would meet all of my marshmallow needs though, so I wouldn't switch to this recipe exclusively.
I think these would be particularly delicious in a hot cup of hot chocolate. My favorite!

Want more homemade marshmallow recipes?
Sweetened Condensed Milk Marshmallow Nutrition Notes
The biggest difference between these marshmallows and regular homemade marshmallows is that these ones are not dairy-free, so cannot be served to someone with a milk allergy.
Both are gluten-free, and neither are suitable for someone following a vegan diet due to the use of gelatin.

Sweetened Condensed Milk Marshmallows
Equipment
- Medium saucepan (at least 1.9 quart/1.7 liter)
Ingredients
Marshmallows
- 2 ½ Tablespoons unflavored gelatin (3 packets)
- 1 cup ice cold water divided
- 12 ounces granulated sugar about 1.5 cups
- 1 cup sweetened condensed milk
- 1 teaspoon vanilla extract
- Canola oil spray
- ¼ cup powdered sugar
- ¼ cup cornstarch
Chocolate Coating (Optional)
- 12 ounces chocolate dark or milk
- 1 Tablespoon coconut oil or shortening
Instructions
- Prepare a 9x13" baking pan as follows: spray it lightly with canola oil. Mix ¼ cup powdered sugar and ¼ cup cornstarch together, then pour it into the baking pan. Turn the pan around to coat it evenly with the cornstarch mixture. Pour excess into a dish and save it for later (don't discard - you will need it).
- Sprinkle 2 ½ Tablespoons (21 g) unflavored gelatin over ½ cup of the cold water in the bowl of a stand mixer.
- Heat 12 ounces (340.2 g) granulated sugar, 12 ounces (340.2 g) granulated sugar, and the remaining ½ cup cold water over medium-high heat in a medium (at least 1.9 quart or 1.7 liter), covered saucepan for 3-4 minutes. Remove the lid and begin to monitor the temperature with an instant-read thermometer. Continue cooking until the temperature reaches 240°F. The mixture will begin to boil vigorously before the temperature is reached.
- Once the temperature reaches 240°F, immediately remove from heat (the sugar mixture will burn if left on the heat too long). Turn the stand mixer on low and carefully pour the hot sugar mixture slowly down the side of the bowl. Once it has all been added, turn the mixer to high speed. Continue whipping until the marshmallow is white, lukewarm, and very thick. Add 1 teaspoon vanilla extract and continue mixing for another minute.
- Pour whipped marshmallow into the baking pan, spreading it evenly with an oiled spatula. Sprinkle the top with leftover cornstarch mixture, saving excess for later. Let sit uncovered for at least 4 hours.
- When marshmallow is set, cut it with a greased knife or cookie cutters in desired shapes. Toss cut marshmallows with remaining cornstarch mixture to coat.
- To coat in chocolate: melt your desired chocolate in a double boiler (or a heat proof bowl set over a pot with a small amount of simmering water) with coconut oil or shortening. Dip marshmallows in chocolate, shake off excess and place on a baking sheet lined with wax paper. Decorate with sprinkles if desired.
Nutrition




SweetestCuppyCake
When do I add vanilla?
Carissa
Hi, add it right at the end of the mixing time, just before you're about to pour the marshmallow into the pan (end of step 4). I have updated the recipe to clarify. Thanks for your comment.